Make Your Homemade Psychedelic Lens Filter
3 43 Share TweetYou may know this funny psychedelic glasses from the toy store or a funfair, that makes all the things look like you see them through a crazy kaleidoscope. I just thought, “Hey, when I can see all the lights so flashy, then my camera must see it the same way!” So, I put the glasses for testing in front of my iPhone camera and the lights looked flashy as I thought.
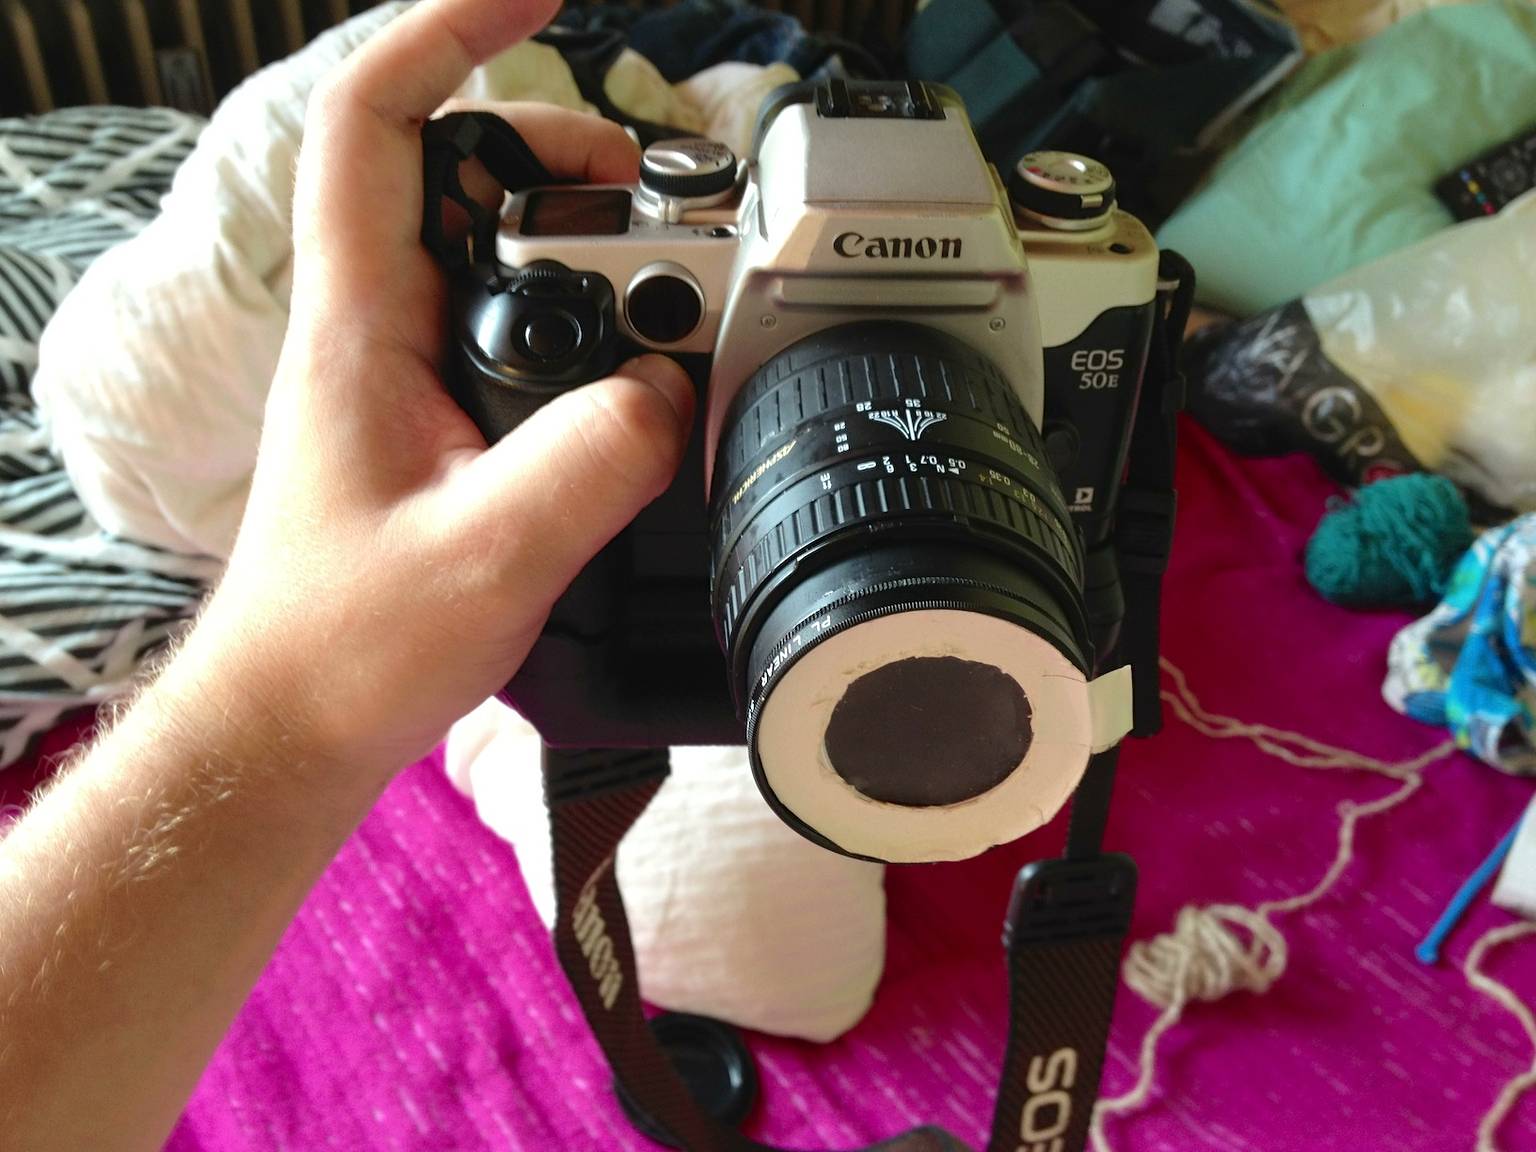
But how can I bring the filter from the funny glasses on the lens of my camera? When I move my head while looking through the glasses, or I turn the glasses in front of my eyes, the psychedelic look changes like a kaleidoscope. I also wanted the same kaleidoscope effect for my new camera filter. My polarizing filter was the answer because I can turn it in front of the lens. You don't absolutely need a polarizing filter, you can also take a UV-filter or any other lens filter or you tape the psychedelic filter directly on your lens.


Materials You'll Need
Put all the things you need on your table and let's go!
- your funny glasses
- a polarizing filter/UV-filter or any other lens filter
- a piece of cardboard
- scissors
- a pen
- a box cutter
- duct tape
- a glue stick
Step-by-Step Guide
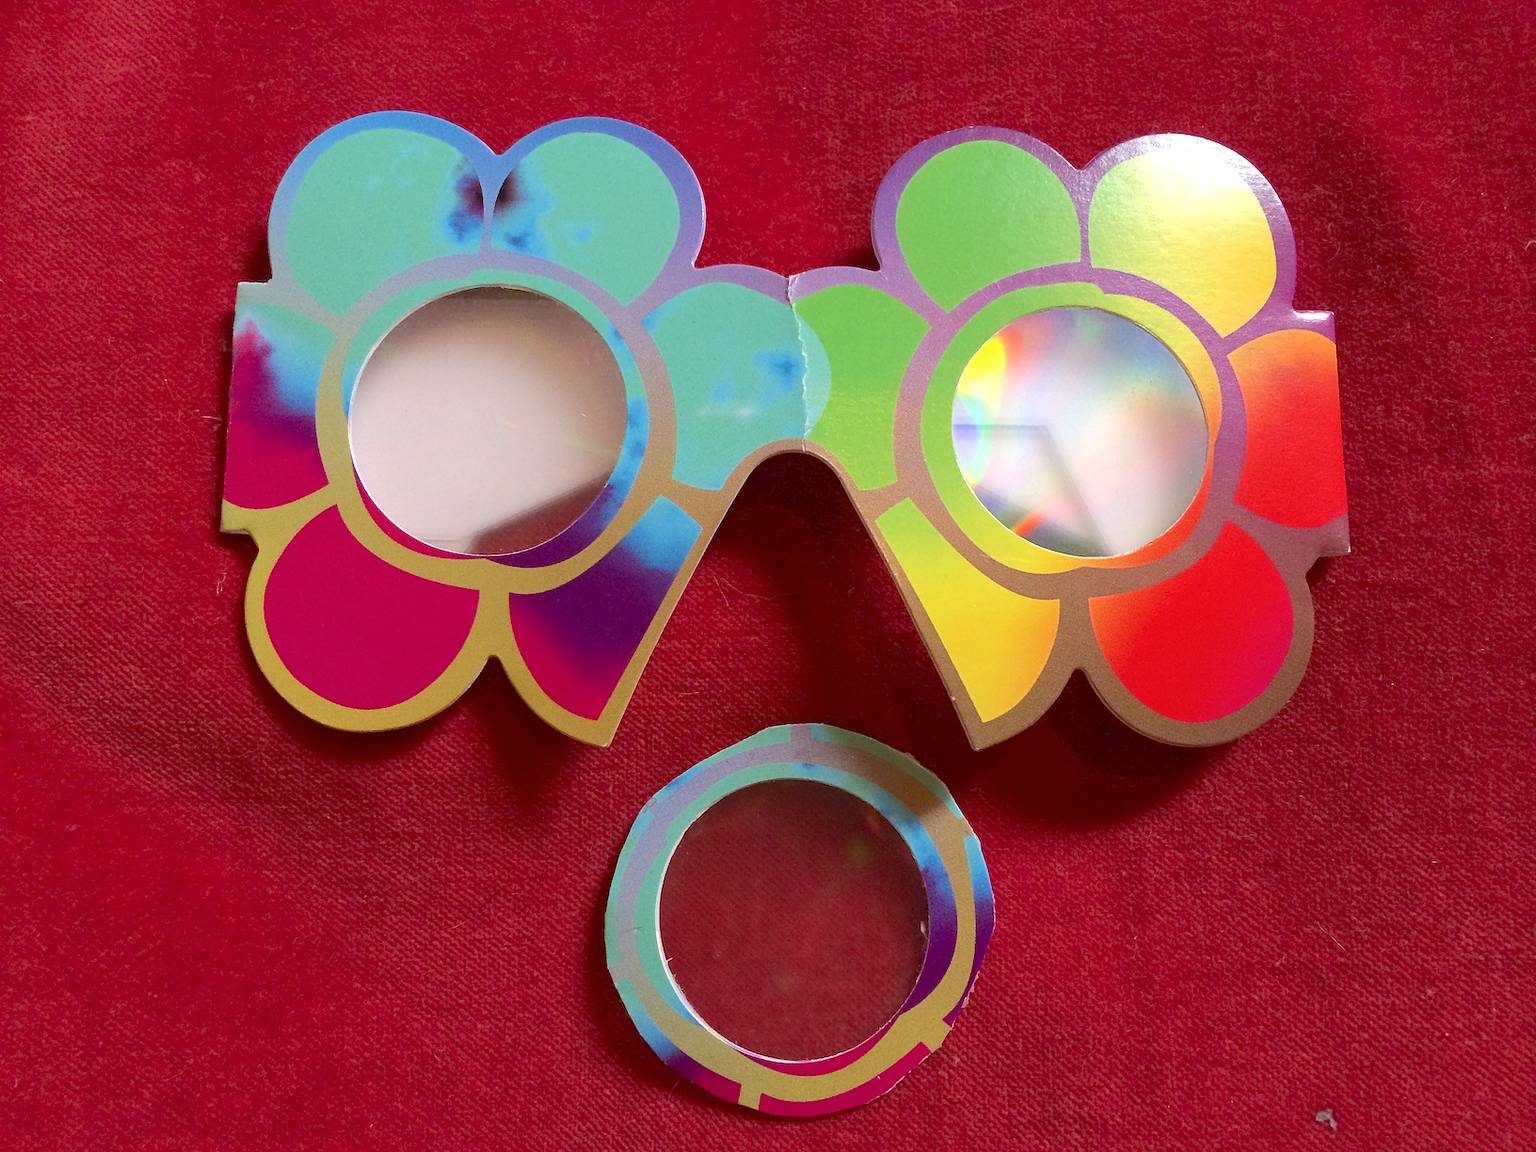
Step 1: You have all the things on your table, so let's do it! First of all, you must cut out a lens from the glasses with a wide border around the lens.
Step 2: Cut out the cardboard circle and cut around the corners until the circle fits perfectly into the filter. Take note, this is very important: before you plug the cardboard circle into the filter, make a pull-out strap from the duct tape! To remove the cardboard circle from the filter without the strap was difficult!
Step 3: Now glue the cut-out lens from the glasses loosely in the middle of the cardboard circle, put it in front of a light source and trace the inner circle.
Step 4: Almost done. Remove the filter from the cardboard and cut out the traced circle with the box cutter or scissors, then glue the filter exactly on the hole of the cardboard and now you're ready to take some crazy psychedelic pictures.


Results
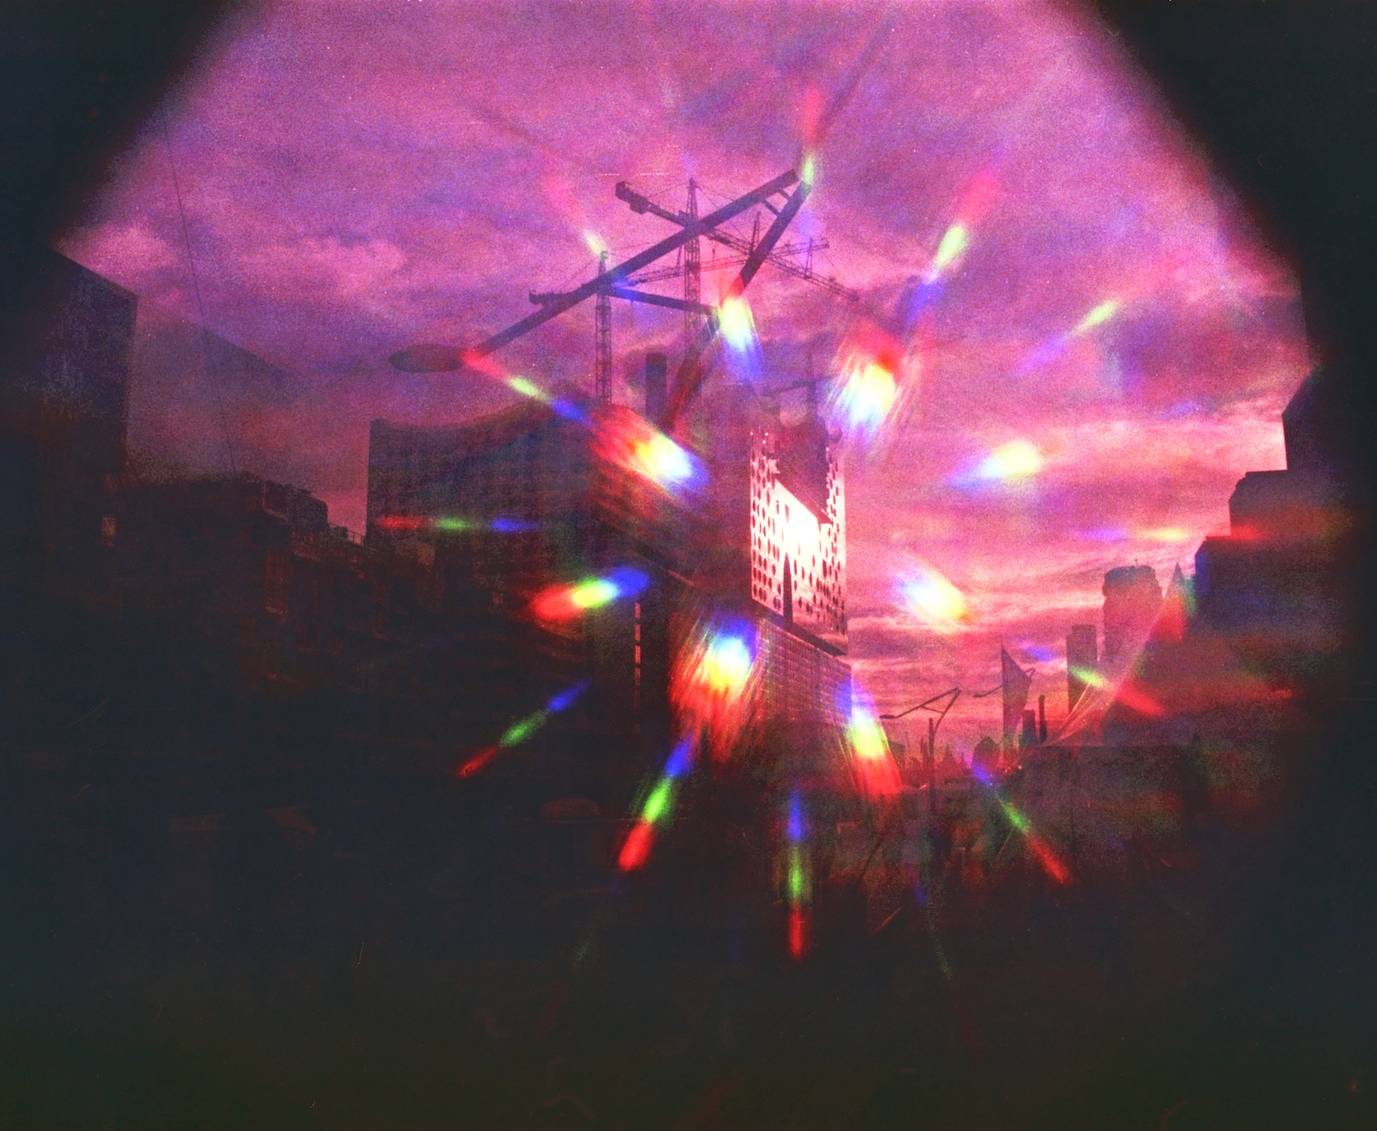
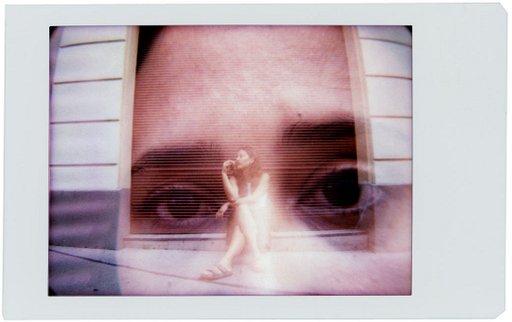
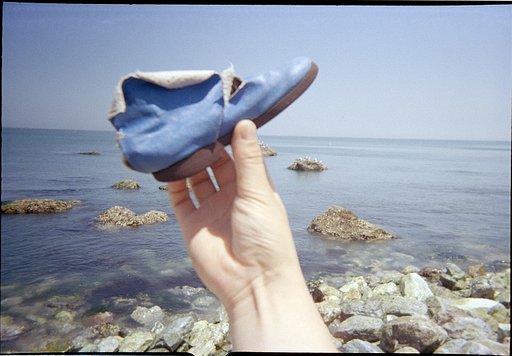
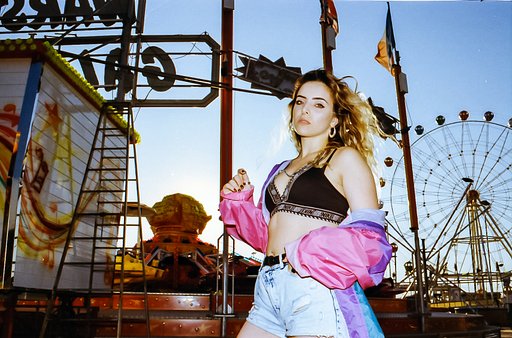
I've used this filter also for my very first movie double exposures. For the first exposures, I used some screens of my favorite robot trash and B-Movies. For the second exposures, I captured some light effects at the night of lights in Hamburg. I shot the lights very closely to make the pictures look more colorful, and flashier. I had so much fun to make this psychedelic filter and much more fun to shoot with it. I was highly surprised by the results and most of all the movie doubles have surpassed my expectations by far! I will shoot some more pictures with this fantastic effect filter. This works with every camera with a filter thread, better use a camera/lens with a small lens diameter or a zoom lens to get the full effect.


Have fun to make your own filter and shoot some flashy pictures! Show off those new shots in your LomoHome.
written by freakoftheweek on 2013-11-20 #gear #tutorials #diy #slr #crazy #lights #camera #lens #filter #tipster #kaleidoscope #double-exposure #psychedelic #doppelbelichtung #kamera #lichter #linse #camera-modification #kaleidoskop #folie #objektiv
translated by freakoftheweek


3 Comments