Understanding The Basics Of Flash Photography
5 Share TweetDo you start to sweat as soon as you hear the term flash photography? Fear not! It may sound complicated, but using flash in analogue photography is easier than think. In this tipster we will take a look at how flash photography works.
The photochemical action of light hitting our film causes the exposure in a picture. The relationship between the intensity, the quality, and the time it takes for the light to hit the film determines a good exposure.
In analogue photography, the first factor that influences our exposure, is our choice of film. The lower the ISO, the less sensitivity it has to light, the higher the ISO, the more sensitive our film will be. Once we have this set in our camera, we can't change it during shooting.
The other two factors that influence our exposure are aperture and shutter speed. The aperture controls the depth of our photo, while the shutter speed determines the quantity of light passing through our lens and reaching the film. The time that is set to expose the film will also affect the motion of a moving object. Any new light added to our photo must be calculated to assert the correct exposure by balancing ISO, aperture, and shutter speed.
How To Expose For Flash
In film photography, when working with an external flash, it is easier to consider the factors that can not be changed to make a correct light reading assessment, and from there, calculate what you can adjust.
We said that the ISO has a fixed value as the first factor you should consider. A low ISO in challenging light situations might require you to use flash, for example in indoor situations or in later hours of the day. The second semi-fixed factor is our shutter speed. When we fire our flash, the shutter speed must work in sync with the flash. If it is not synchronized you will end up with the shutter curtains visible in your photo. In analogue photography this value is between 1/60 of a second and 1/125 (these values can vary for different camera models).
The last variable we can adjust to control the light coming in is the aperture, this not only helps control the flash light, but it is also responsible for the ambient light that will enter the frame.
But there is a fourth factor in flash photography to consider; the speed and space with which light travels. The distance at which we decide to set our flash will affect the final image. There is a close relationship between the amount of light that can reach your subject and the location of your flash. The closer you are to your subject, the more intense the light will be when it hits. As we move our flash further away from the subject, the intensity will become proportionally lower.
This applies to any kind of flash, whether you have a portable flash or one built into your camera. With a built in flash as soon as you move away from your subject the intensity will start to change, as well as your compositions. With a portable flash, you can move it wherever you like, allowing you to keep the composition as it was, while only modifying the light.
How To Use Flash
So how can we use a flash? We can manoeuvre it to help us control the light. It can fill the shadows to illuminate a subject, or completely light up a dark room. Let's take a look at a few easy techniques that can be used.
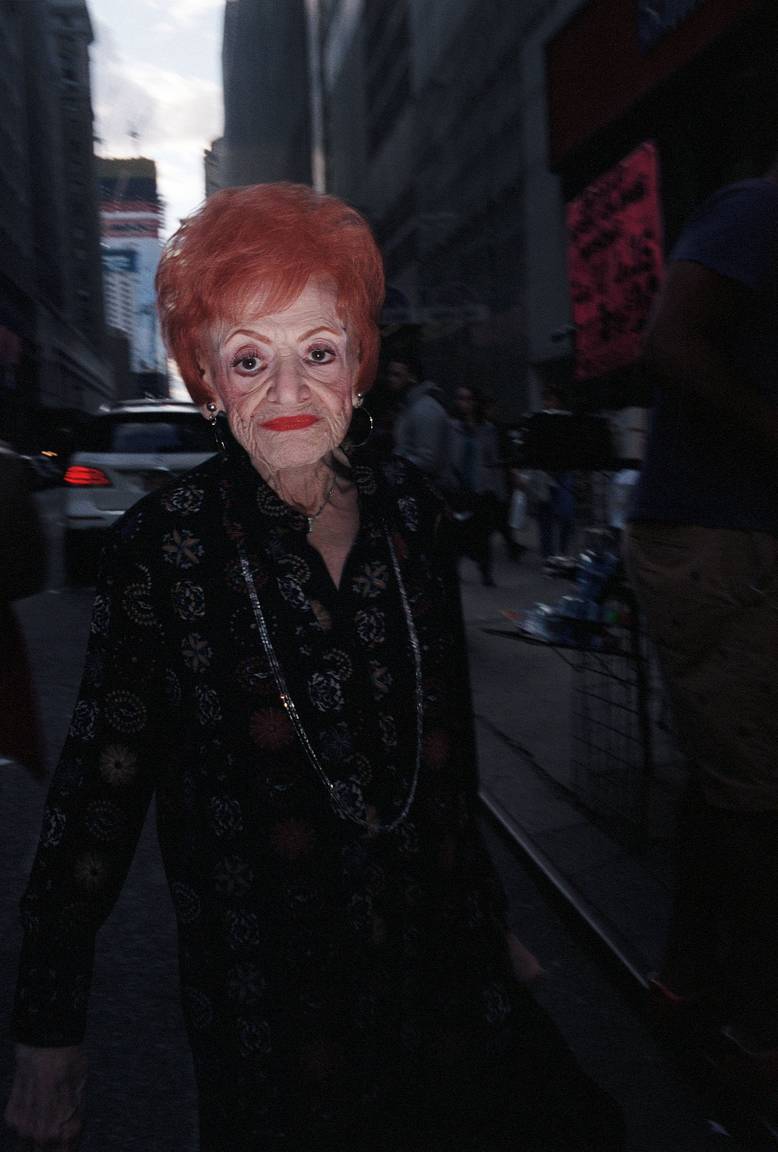
Frontal flash: This is the classic look of a fixed-mounted camera flash. This kind of illumination isolates the main subject and blocks the background, creating somewhat harsh quality light.
Side flash: To get more creative illumination, move the flash onto the side to create a different light source. This will cast a different shadow that can help you balance whatever available light you have at your disposal.
Bouncing light: Turn your flash up to the ceiling or next to a white wall and use the surface to bounce an indirect light over your scene. This way you will get a more diffused effect and avoid harsh light.
One extra precaution to be keep in mind: a flash often requires batteries. Make sure that their power is at full capacity because with each fire of the flash, the energy will decrease a bit. Between one shot and the next, the flash needs to recharge before it has enough power to fire. Therefore wait a few seconds from one photo to the next, and make sure that the flash is ready.
How was your first experience with flash photography? Share your thoughts in the comments below.
written by eparrino on 2024-03-19 #tutorials #tutorial #tipster #flash #beginner











No Comments