Processing Color Reversal Film into Slides with E6 Chemistry
3 6 Share TweetI have long developed my own B&W and color negative films at home but I had never tried out E6 slide development before. I found that it is generally very similar to other developing processes, although you do have to be a little bit more precise. This is just a basic guide as you can get very technical with these chemicals in terms of altering color shifts and pushing and pulling stops.

Firstly, for this process you will need:
- Daylight developing tank – with reels/spools, spool middle and lid
- Changing bag or completely dark room
- Scissors and a marker pen (for marking bottles and cutting 35mm film.)
- Timer (I use my iPad, but I am very careful not to get it wet!)
- Measuring cylinders
- Chemical bottles (I use food grade plastic bottles from water or milk)
- Thermometer
- Large tub or water bath
- Sink or running hot and cold water
- Small thermostatically controlled water heater ( I use the bar type meant for a fish tank)
- Rubber or latex gloves – or barrier cream (the chems also say its best to wear an apron and protective goggles, though I personally do not use them)
- Funnel (can be useful to pour chems back into bottles)
- E6 Chemicals (I used Tetenal Colortec E6 chemical kit for 12 films)
- Well ventilated, clean uncluttered, chemical safe area
- NO CHILDREN OR PETS!
Mixing the Chemicals
I followed the guide book that came with the chemicals. In this kit there are four baths: First Developer – FD, Colour Developer – CD, Blix – BX and Stabilizer – STAB. Remember to wear your protective gear when mixing or processing with these chemicals!
The 500ml solution which will cover 1×120 film or 2×35mm at the same time in any normal multi-type tank, mix the following:
FD: Water 400ml + FD concentrate 100ml
CD: Water 340ml + CD con. pt1 100ml + CD con. pt2 60ml
BX: Water 300ml + Blix con. pt1 100ml + Blix con. pt2 100ml
STAB: Water 450ml + STAB concentrate 50ml
Please note: You must not mix or even open the first developer and color developer at the same time. When opened, the vapors will mis and contaminate the chemicals!
I mixed each chemical separately, then transferred it to the labeled chemical bottle before moving on to the next chemical in the sequence. I then like to pack away all the mixing equipment and concentrated chemicals to make my developing space clearer. I’m a teacher, so yes, I have the habit of cleaning/putting away between tasks.
This chemical is meant to be used at 38 degrees Centigrade. if you have more than a half degree shift either way then the colors of the film will come out differently than they are supposed to. The type of film you used and how much the temperature varies will alter the colors. The Tetenal guide with the chems goes into quite some detail about this.
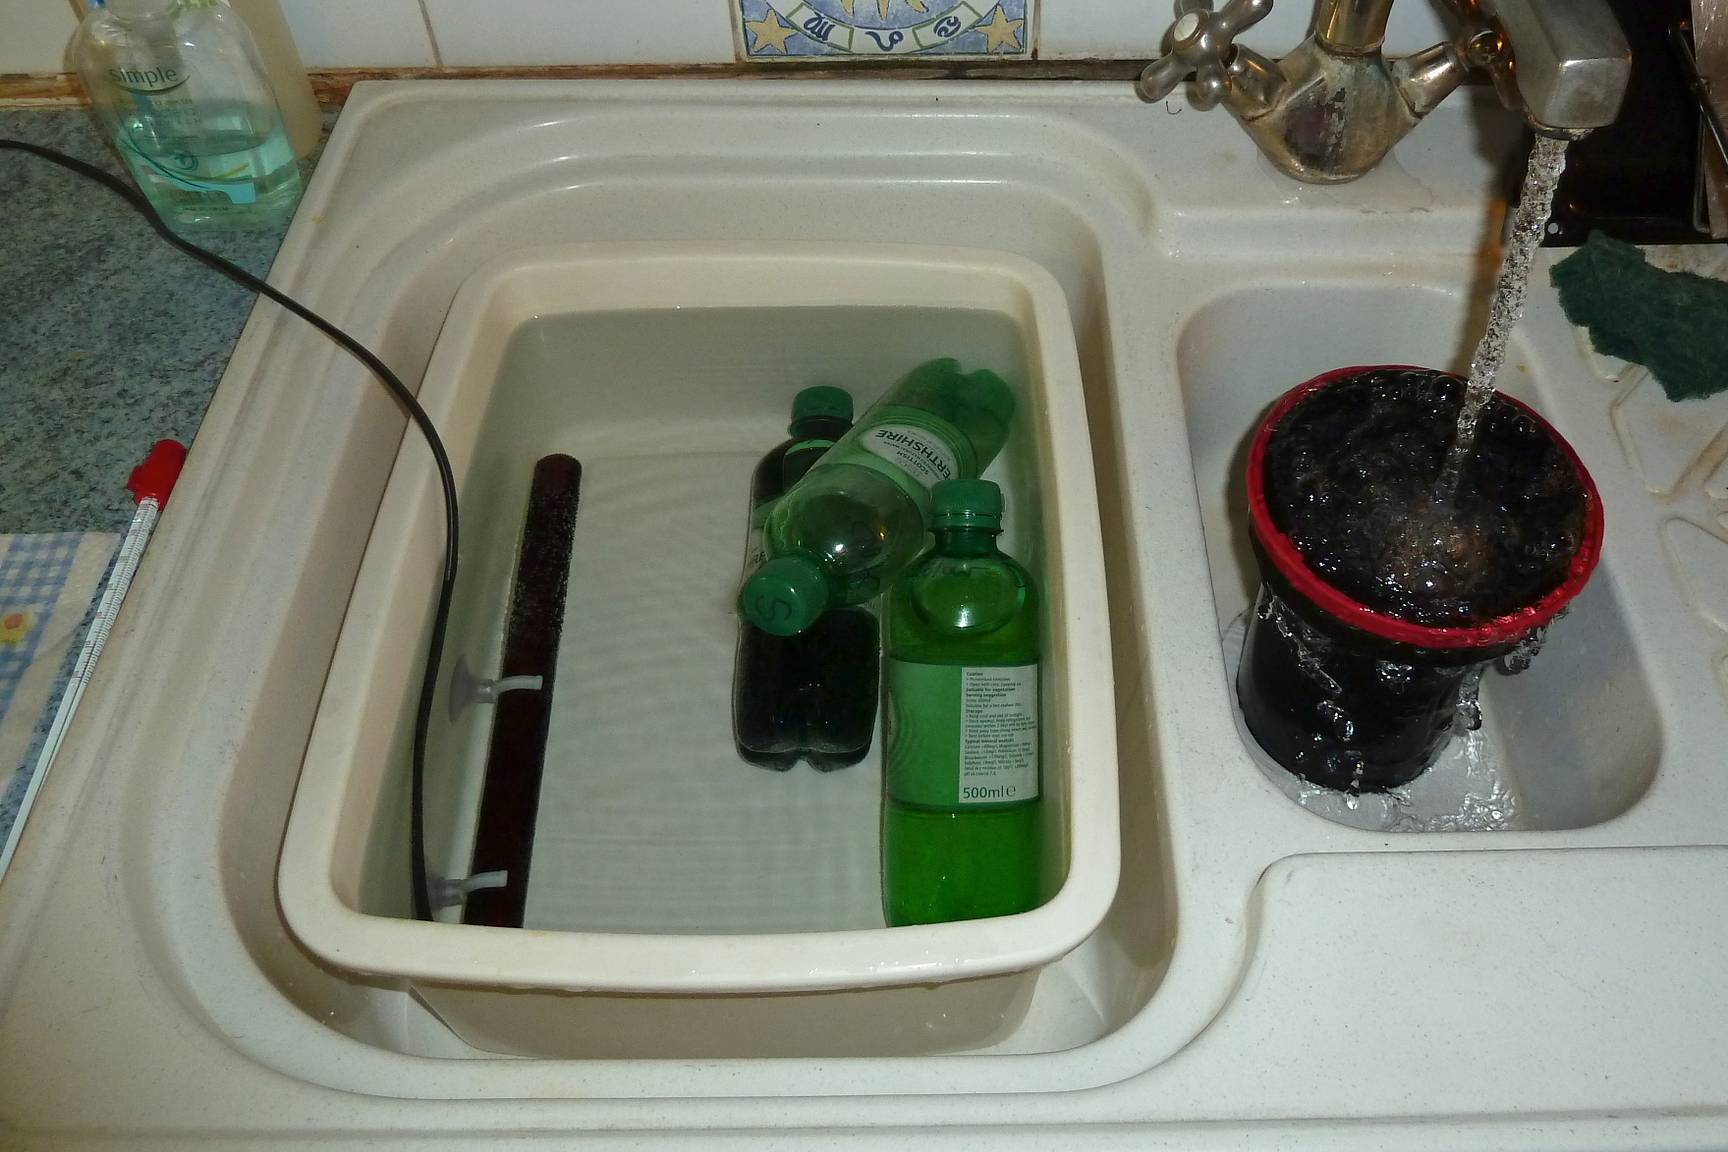
To make sure the chemicals have enough time to heat up evenly, I put them in a bath of water heated to 38 degrees C and keep an eye on them with the thermometer. Do this before you load your film as it may take some time. This is why a water heater is essential since it will keep your water bath in the correct temperature throughout the process. Having pre-heated water to wash the tank with between each bath also reduces the temperature shift.
Loading the film
There are a few guides around for loading films into tanks, and quite a few videos about it on YouTube. Which is why I haven’t gone into explaining it here. I would suggest that if you are new to processing that you watch them and practice before risking a good roll of film. Just remember that if you are not using a changing bag then you must use a completely dark room, no red lights or ANY light must be present or else, you will FOG your film. Once the film is safely inside the daylight processing tank with the lid screwed or clicked on, then you can proceed.
Processing the film


The chemicals suggest an electric rotary processor, but I do all my processing by hand. These slide chemicals need to be agitated very often, which is one reason to use an electric processor but you can also do it manually. These chemicals fade so processing time goes up with the more films you process. A 500ml of chemical solution will process up to 6 films.
Step 1: Pre-heat water bath – 2 to 5 mins Make sure your film and tank are nicely up to temperature. If you put the chemicals into a cold tank it can lead to underexposed slides. Pour out the water without opening the tank.
Step 2: FD (1-2 films) 6 min15 sec. (3-4 Films) 6 mins 30 sec. (5-6 films) 6 mins 45 sec.
Agitate for the first 15 seconds, then once every 15 seconds. Pour the chemical back into the bottle after use.
WASH: for 2 minutes with running hot or warm water or fill and empty at least 4 times with 38 degrees C of heated water. Pour the water away after.
Step 3: CD (1-2 films) 6 min. (3-4 Films) 7 mins. (5-6 films) 8 mins.
Agitate for the first 15 seconds, then once every 15 seconds. Pour the chemical back into the bottle after use.
WASH: for 2 mins with running hot/warm water or fill and empty at least 4 times with 38 degrees C heated water. Pour this water away.
Step 4: BX (1-2 films) 6 min. (3-4 Films) 7 mins. (5-6 films) 8 mins.
Agitate for the first 15 seconds, then once every 15 seconds. Pour the chemical back into the bottle after use.
WASH: for 2 mins with running hot/warm water or fill and empty at least 4 times with 38 degrees C heated water. Pour this water away.
Step 5: STAB 1 min – this can be performed outside the tank, but I use the tank. Pour the chemical back into the bottle after use.
Once the film has finished processing, carefully pull it off the reel, remove any excess water with a clean film squeegee or very clean soft fingers. I always use my fingers to be honest. I have gotten horrid marks from squeegees and never have gotten damage from using my fingers. I also don’t have greasy fingers, but if you have used barrier cream then I would use the squeegee or wash your hands quite a few times to remove the cream. Then hang up your film in a dry and dust free place. I also put a peg or weighted film clip on the bottom end to keep the film nice and straight and prevent curling and sticking. And yes, I have hung mine up in my bedroom, which is not really that dust free but it’s all I got so it will have to do.
Once it is dry you can cut it into lines of 5 or 6 and place into negative storage. I use Kenro glassine paper archival negative carriers: the clear ones can stick to negatives after a few years although they are easier to look through them. And they’re easier to make contact prints with in the darkroom. You can of course scan, print or mount the processed slides if you like.
The last thing to do is wash all your equipment and developing space thoroughly. Badly washed equipment leads to contaminated chemicals and shoddy developing. Then put everything away in a safe dry place where fire, pets and children can’t get to them.
There’s my basic guide to color developing. Hope you guys caught a few things that you can use in your own developing processes.
written by asharnanae on 2013-11-02 #gear #tutorials #diy #tutorial #e6 #lab-rat #tipster #development #darkroom #chemicals #color-reversal #home-process #film-processing #cr-slides


3 Comments