Do-it-Yourself: Colour Film Developed in Rodinal

28

Most easily-available and cheap film is colour negative (CN), which uses a process called C41 (or CN-16) for development. While you can do C41 development at home, the chemicals are a bit nastier, and it’s cheaper and easier to use a black-and-white developer. They also keep for longer. Plus, developing colour film in Rodinal gives you a unique look – not quite like anything else.

Credits: keefmarshall

Colour film is different from black and white film in that the emulsion side has dye coupler layers, which interact with the C41 developer to form dye clouds (that’s a bit of a simplified explanation, but you get the idea). It’s these clouds that provide the colour in the negative. However, colour film also has the same silver compounds in it that black-and-white films do, so it’s possible to get an image from the film using black-and-white developer only.

Credits: keefmarshall

You can use any black-and-white developer, but Rodinal, and all the similar developers (R09 one-shot, Adonal, Adolux APH-09, Blaizenol etc) are really cheap to buy, easy to use and come in a concentrated syrup form that lasts almost forever on the shelf. This is ideal for someone who wants to do their own development occasionally. You’ll still need a developing tank, of course, and some way to load the film into it in the dark – this could be a changing bag, which you can pick up fairly cheaply, or just a very dark room with all the cracks sealed up.

The other good thing about Rodinal is that it also works as a very weak colour developer. So, if you use it on colour film, you can get the slightest hints of the original colours coming out. This works best if you underexpose the image a little, although you’ll then get more grain when you scan.

Credits: keefmarshall

There are lots of articles here and elsewhere on basic B&W development, so I won’t repeat them here in detail, but you’ll need to know the development times for C41 film. All colour negative film has the same development time, regardless of ISO, so it doesn’t matter what film you’re using. A good rule of thumb is to use the same development time as Kodak Tri-X in the developer of your choice. For Rodinal-based developers, this is 15 minutes when using a 1:50 concentration at 20C. I use 6ml of APH09 and make it up to 300ml with water to process one 35mm film in my Paterson tank. Double these figures for two rolls. For 120 film, it’s 10ml of APH09 in 500ml of water.

My recipe:

  • Develop: 15 minutes in APH09 or Rodinal 1:50 at 20C
  • Stop: 5 rinses in tap water
  • Fix: 5 minutes in Ilford Rapid Fixer
  • Rinse: either 10 minutes in running water, or use the Ilford method
  • Final rinse: A drop of Photoflo in distilled / deionised water to reduce drying spots

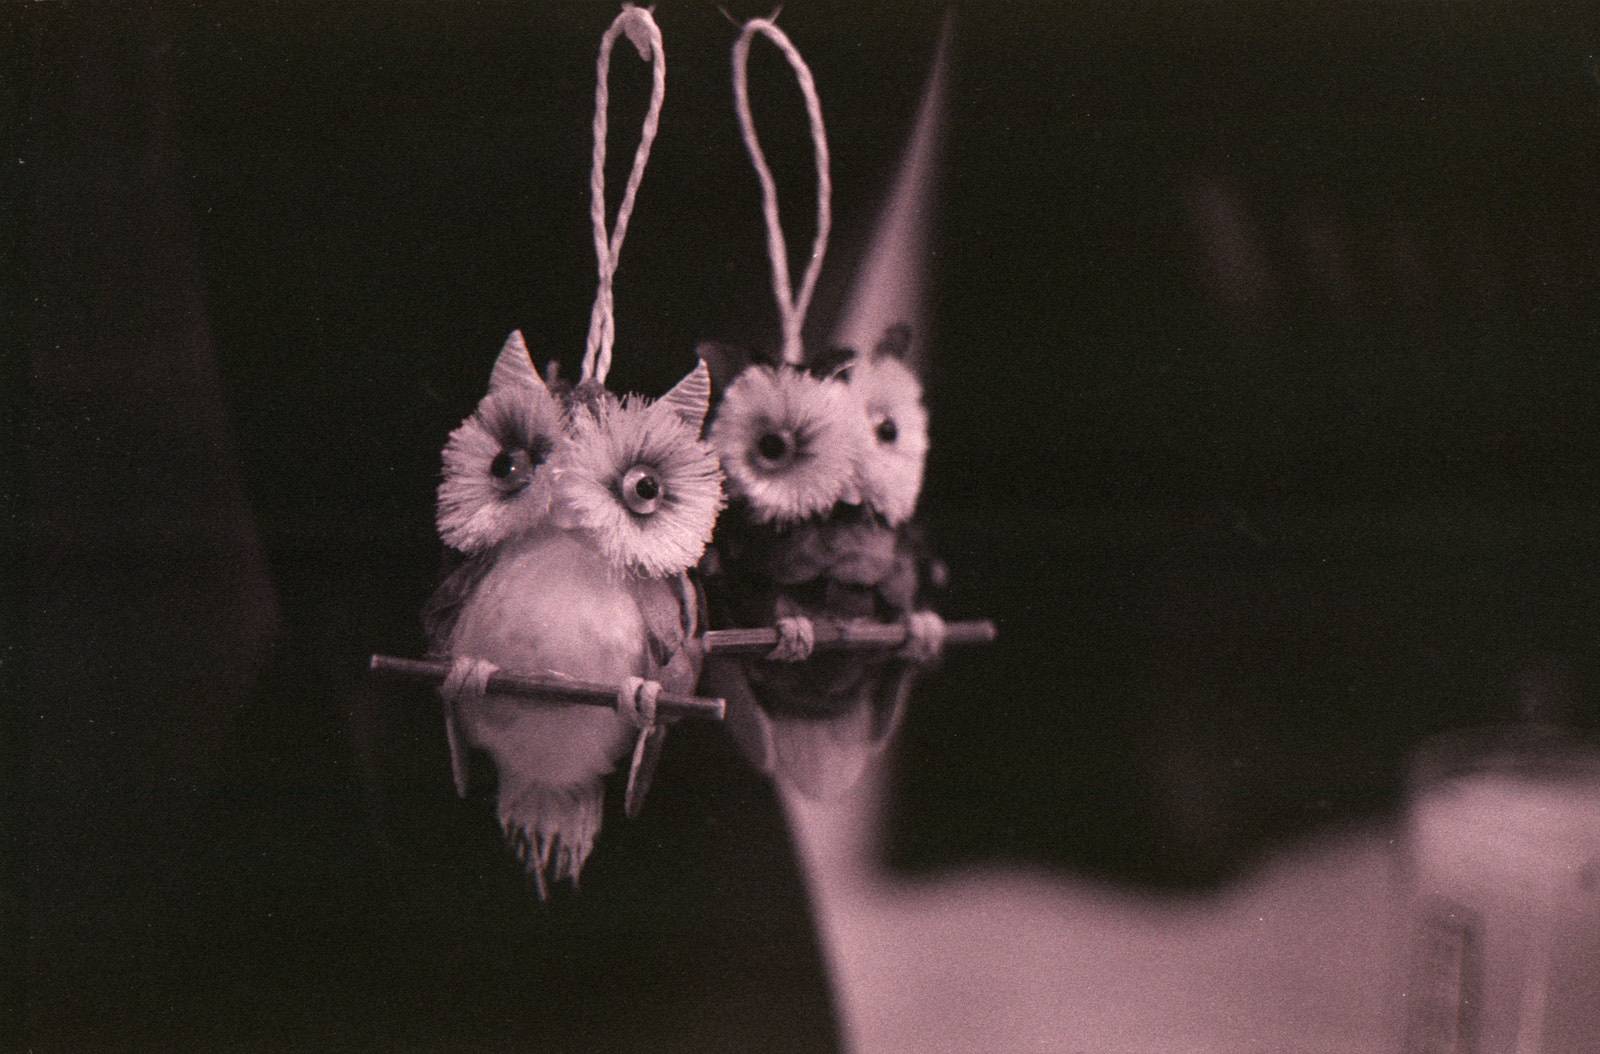
Once developed, you then need to scan your negs. This is where it gets interesting. Unlike B&W or slide film, colour negative film has an orange tint to the base. If you scan as B&W you’ll get some results, but they might be affected by the orange mask. I scan as colour negative, just as I would if the film had been developed “properly”. The scanner then knows that it has to subtract the orange mask from the result. This has the advantage of adding a unique subtle tint to each shot, normally slightly pink or brown. I can never tell exactly what tint each shot will be until I scan it – each frame is different. I have noticed that portrait shots seem to come out with more pink on my Epson V500 scanner, for reasons I don’t entirely understand. Perhaps your scanner will be completely different.. who knows! All the shots in this article are as they came off the scanner, except for two which I converted to black and white afterwards in Photoshop.

Credits: keefmarshall

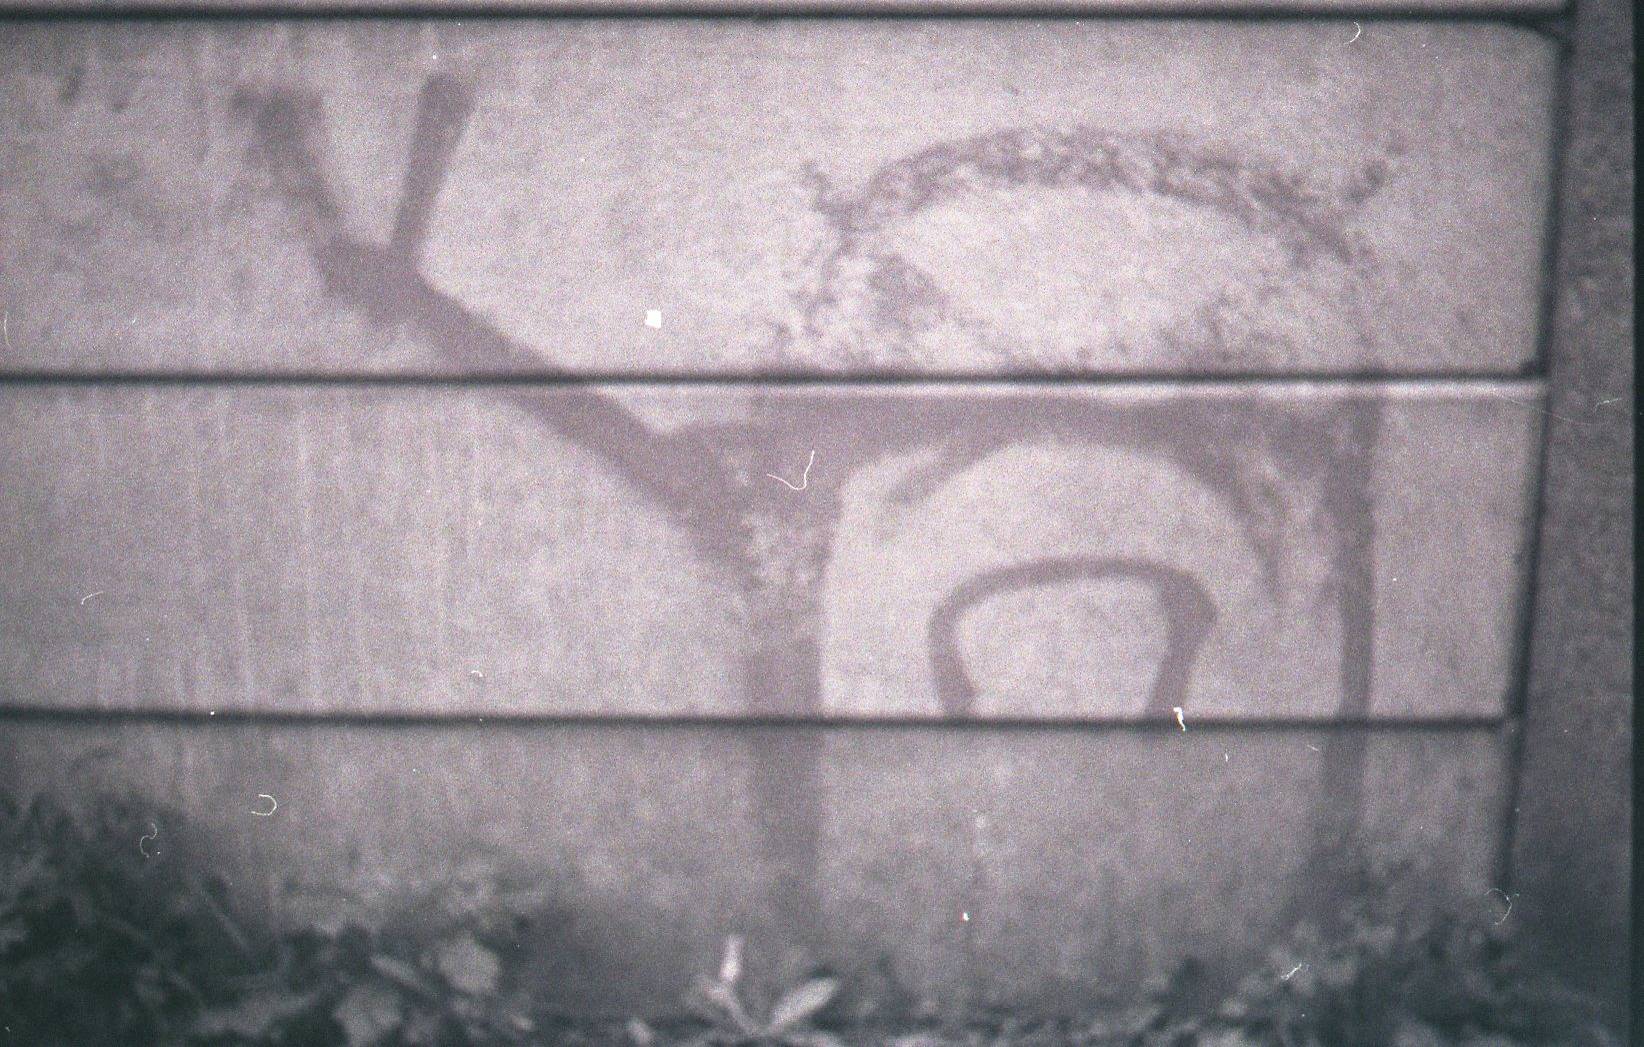
As mentioned above, you might also see hints of the original colours, because Rodinal is a weak colour developer. This one has some hints of green in the weeds at the bottom:

Credits: keefmarshall

If you want true black and white pictures, you can easily post-process these pictures in your favourite software to remove the colour cast, and often this will have the added benefit of increasing contrast, but at the expense of the unique look you get with the colour scan.

Credits: keefmarshall

So there you go – that’s how I get this particular look. I guess it’s not so unique now that I’ve told you how to do it!

Credits: keefmarshall

written by keefmarshall on 2012-11-19 #gear #tutorials #c41 #tutorial #tone #rodinal #tipster #development #black-and-white

28 Comments

  1. uncle_jay
    uncle_jay ·

    Great tipster. I'm going to try this!

  2. kribbzor
    kribbzor ·

    I wasn't sure bout trying this before, but now i need to try! ^^

  3. wuxiong
    wuxiong ·

    Very practical tipster, thanks for sharing...<:)

  4. djnada
    djnada ·

    Beautiful pictures! Wish I had the space to try it out...

  5. anttmaki
    anttmaki ·

    Awesome photos and great tipster - well written and all-inclusive.

  6. bunnandbird
    bunnandbird ·

    Great ideas! I'll have to try this, now I've seen the shots it puts out. :)

  7. gndrfck
    gndrfck ·

    I developed Fuji-s 200 and Agfa 100 in Rodinal too. And it worth to mention that you'll need a good scanner to get appropriate images, especially if negatives were underexposed. I'm impressed by contrast you got on your images. I have HP ScanJet G4050 and I was made to increase lights for 100% and decrease shadows 100% to get desirable contrast.
    So next film was post-processed in hrome bleach and then in blue-copper bleach. Those bleaches desaturated orange mask and made a film more transparent. But still my scanner didn't manage to satisfy me.

  8. keefmarshall
    keefmarshall ·

    @gndrfck - that's interesting - I didn't have any particular issues with the scanning at all. I use an Epson V500 - I may have increased the contrast a little in post, but nothing major (e.g. maybe "auto contrast" in PS or a little black/white point levels adjustment). If you did underexpose the negatives, that might be the problem - I do try to expose correctly. You probably get less exposure latitude with this method than you might expect normally from B&W or CN film so perhaps that's quite important.

  9. gndrfck
    gndrfck ·

    I exposed correctly too and even overexposed. That is why I mentioned scanner efficiency being important especially for underexposed shots.
    Of course, the bad contract also could be a result of expired film used by me.

  10. simonh82
    simonh82 ·

    Great photos and an interesting tipster. I think the stronger colours in under exposed areas may be to do with the masking effect of the silver image which is normally bleached out of colour negatives. The areas of the negative with the most exposure will have the thickest silver image masking the colour. I expect that if you bleached the negatives before fixing the opposite would be true but I've no idea how strong the colour image would actually be.

    PS. Are you a duck on flickr

  11. keefmarshall
    keefmarshall ·

    @simonh82 If you bleach these negatives you'll remove the silver compounds which make up most of the picture! So, don't do that. You might be thinking of bleach-bypass, which is another cool effect, and a similar process, but you need to use a proper colour developer in the first stage and omit the bleach stage from normal C41 dev. Rodinal is a very weak colour developer, not strong enough for that process.

    Yes, I am a duck on Flickr and elsewhere but it's a digital duck so I thought it inappropriate for here!

  12. jim-bob
    jim-bob ·

    looks kinda sepia-ish??? looks good :)

  13. keefmarshall
    keefmarshall ·

    @simonh2 so I've had a think about this and I understand what you're saying now - if it's the silver masking the colour then yes, under-exposed areas will show more colour. But, presumably those under-exposed areas won't have a lot of colour either since the under-exposure will apply as much to the colour as to the silver (ultimately, as I understand it, the colour couplers act in conjunction with the silver to produce dye clouds, so if there's less exposed silver, there'll be less dye as well). My guess is still that if you bleached these negatives you'd end up with virtually nothing, such a weak colour image that you won't see anything.

    I suppose I could pick a sacrificial negative strip and try it, to see what happens! Maybe I'll do that with my next roll - it should be possible to do this process, scan the negative to see the image, then retrospectively bleach and re-fix.. I think.. I've heard of people doing that with bleach-bypassed negatives to revert to the original colour.

    It hadn't occurred to me until now that bleach-bypass is very similar to this, just with a proper colour developer not a B&W one. In that technique of course you do get the silver masking some of the colour, to give a desaturated effect.

  14. kleeblatt
    kleeblatt ·

    thanks for sharing !! I`ll give it a try :D

  15. simonh82
    simonh82 ·

    Yep, that was what I was saying. My thought was that if you bleached the negative, the areas with the most exposure would also show the most colour development. I agree that any image would be very weak but I'd be interested to see if there was any discernible image. It looks like it doesn't really activate all of the dye layers so you get a kind of mono-colour image.

  16. photowang
    photowang ·

    This worked well for me in 1:100 Rodinol semi-stand development for 1 hour: www.lomography.com/homes/photowang/albums/2113123-fuji-supe…

  17. kritsalos
    kritsalos ·

    Great tip, thanks for sharing! @photowang Your album brought me here!

  18. tomczykd
    tomczykd ·

    Done! with Tetenatl!

  19. qbalazs
    qbalazs ·

    Shooting some color film on vacation next week. With a lack of desire to mess with the C-41 process, this seems like a decent substitute. Will try with D-76 stock solution and Tri-X times, which appear to be 6:45 in dev and a little less in the fix.

    I've tried C-41 but find the +-5 degree temps messing with color and contrast a bit much to try to handle.

  20. qbalazs
    qbalazs ·

    Shooting some color film on vacation next week. With a lack of desire to mess with the C-41 process, this seems like a decent substitute. Will try with D-76 stock solution and Tri-X times, which appear to be 6:45 in dev and a little less in the fix.

    I've tried C-41 but find the +-5 degree temps messing with color and contrast a bit much to try to handle.

  21. tomczykd
    tomczykd ·

    See my albums C-41 in B&W chemistry at: www.lomography.com/homes/tomczykd/notes/1948398-c-41-colour…

  22. catefield
    catefield ·

    Fabulous. Thank you. I’m feeling excited about getting into the dark room this week. 😊

  23. catefield
    catefield ·

    Fabulous. Thank you. I’m feeling excited about getting into the dark room this week. 😊

  24. willyibanez
    willyibanez ·

    Hi! I found this very interesting post (I do not know when it was published) and I would like ask a question about. What is the behavior of this negatives in darkroom? Are they printables in your opinion? I image the pink cast could works as a contrast filter enhancing the overall constrast. What do you think? I don't have an scanner and my deal should be printing in darkroom. My film is Portra 160 pushed to 400 asa. Thank you very much for any little help.

  25. keefmarshall
    keefmarshall ·

    I have never actually done dark room printing so it's difficult for me to say, but the negatives have clear images on them so I'd imagine you'd get something. I guess if you print to colour paper it's going to be a bit random as to what actually comes out!

  26. willyibanez
    willyibanez ·

    Thank you! The last thing: I read on the network that a lot of people used Rodinal 1:100 getting very decent results. for one hour. Did you try this dilution after or before your recipe 1:50 15' ?

  27. pred
    pred ·

    I've used Rodinal 1+50 at 20C for 12 minutes, obtaining the finest grain.

  28. jolom
    jolom ·

    Thanks for the tipster! I tried this yesterday with some very expired Fuji 200, and I'm happy with the results! www.lomography.com/homes/jolom/albums/2362369-fuji-200-110-…

More Interesting Articles