Making a DIY Cardboard Aperture
9 41 Share TweetHave you ever been fascinated by the aperture in your camera lenses, and wondered how they operate? If you have some time to spare, this is a simple project that mimics the mechanics of an aperture – using card and foam boards!
I actually needed to study the operation of a camera aperture for my recent design project, and I could not really find a lot of tutorials online for that. So I decided to do my own – based on an image I found on flickr! This article is a documentation of my steps and the whole thing took about less than 2 hours to construct.

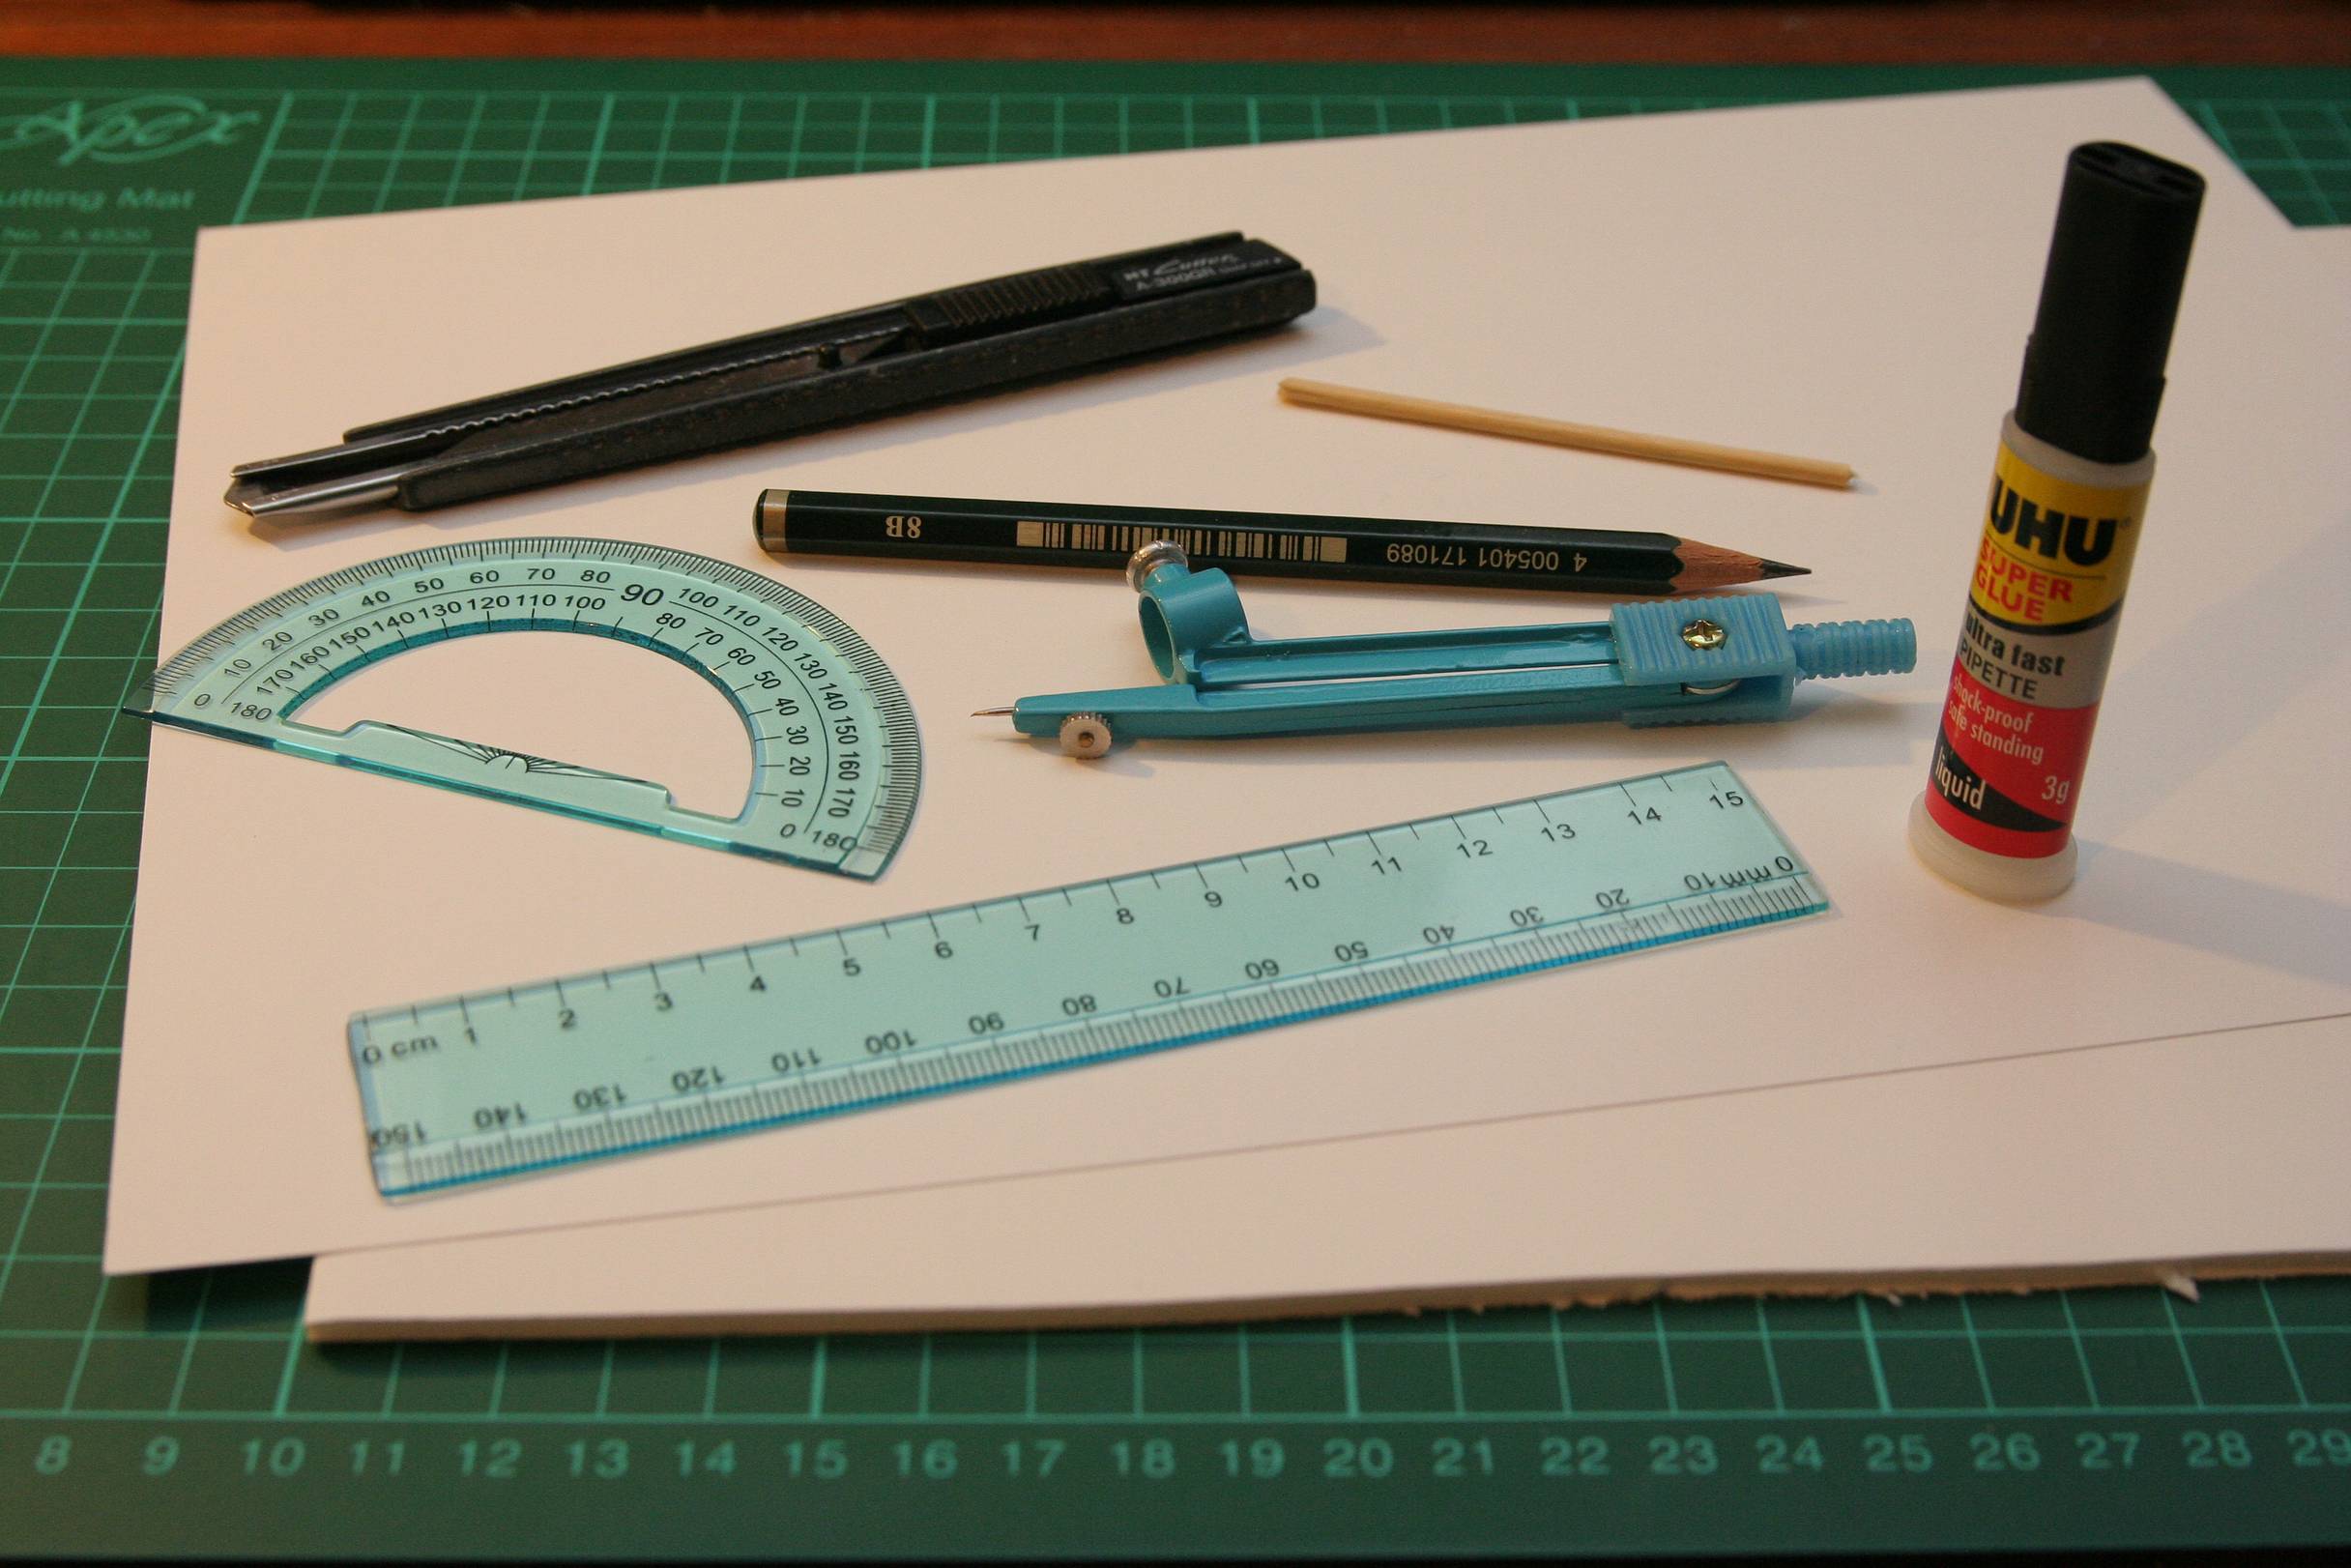
First of all, the materials and tools:
- A piece of A4 thin foam board (3mm thick, with cardboards on either side)
- An A4 card
- A compass
- A protractor
- A ruler
- A blade
- A pencil
- A bamboo skewer
- Superglue (UHU won’t be strong enough).
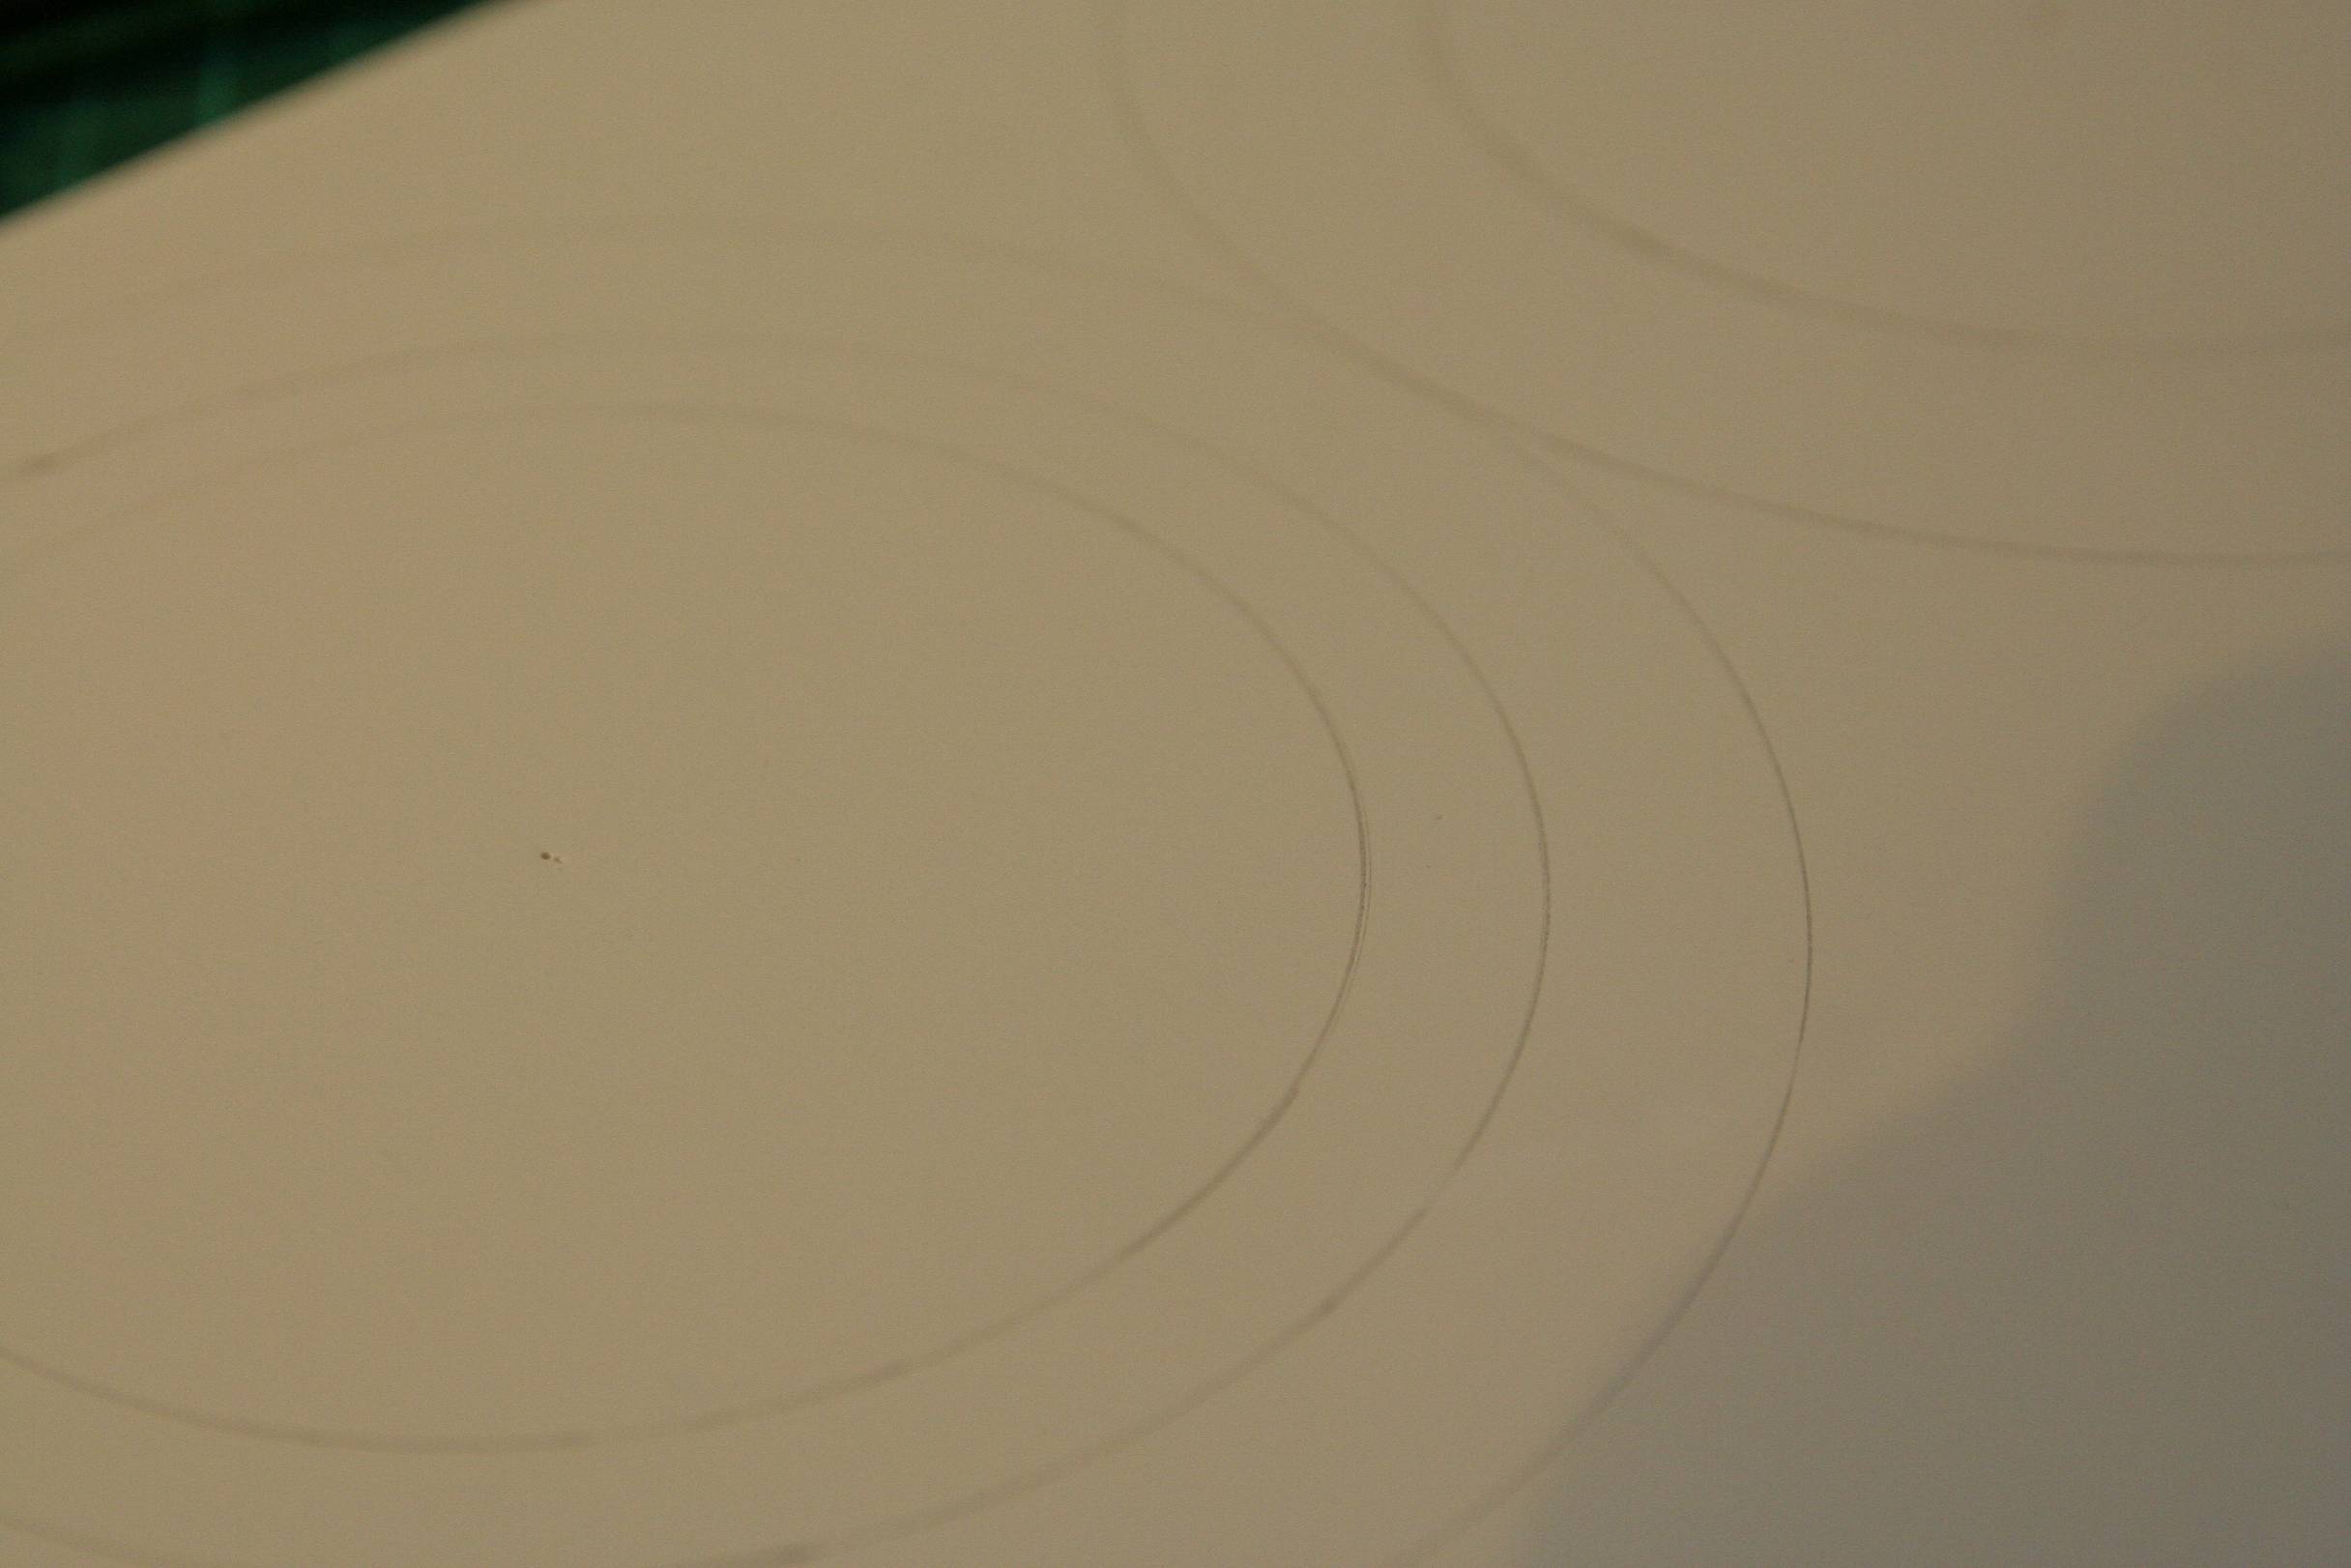
2 circles of equal diameters are drawn on the surface of the foam board. As an A4 paper is 29.7cm long, that would make each circle roughly 14cm in diameter. One circle is for the mechanism, the other for the base.

Next, in both circles, another smaller circle is drawn 1 inch inside. This was to be the opening of the aperture, and would be cut away later. That would leave us with 2 ring-shape foam boards of the same size.
In one of the rings, another circle is being drawn between the first and second circles, about the proportion of 1/3 of the distance between them, with the bigger portion on the outside. This divided the ring into 2, one which would be fixed and another would be turn-able. From this step onwards, only this ring would be worked on – the other ring for the base (which only have 2 circles instead of 3) would come in later.
Then, using a ruler, a line was drawn across the ring, passing the centre point.

Using a protractor, align the base dot to the center point and make sure that the bottom line of the protractor is directly above the drawn line.

Mark two points at 60 and 120 degrees each. Repeat this for the other half of the circle. Join the opposite dots together…

… and the circle would be divided into 6 equal sections like a pizza.

Using the compass again, mark all 6 lines with a small dash between the space of the inner ring. Using it as a guide, draw a small diamond around it. This would be cut away to insert the bamboo skewer; ideally it should be a small round circle, but a diamond would be easier to cut. On the outer ring, a small rectangle, the thickness of the diamond, was drawn on each 6 lines as well.


That would leave us with this pattern:

And now the blade enters the process! Begin by cutting the innermost circle out to form the aperture opening…

… To the inner ring…

… And finally to the outer ring.

I trimmed off the inside of the outer ring a little bit to reduce the friction between the inner and outer ring so it would be easier to spin it.

Then the small diamonds and rectangles are cut away.


Now back to the base ring, it is pretty straightforward – just cut away the inside and outside circle and pop out the ring.

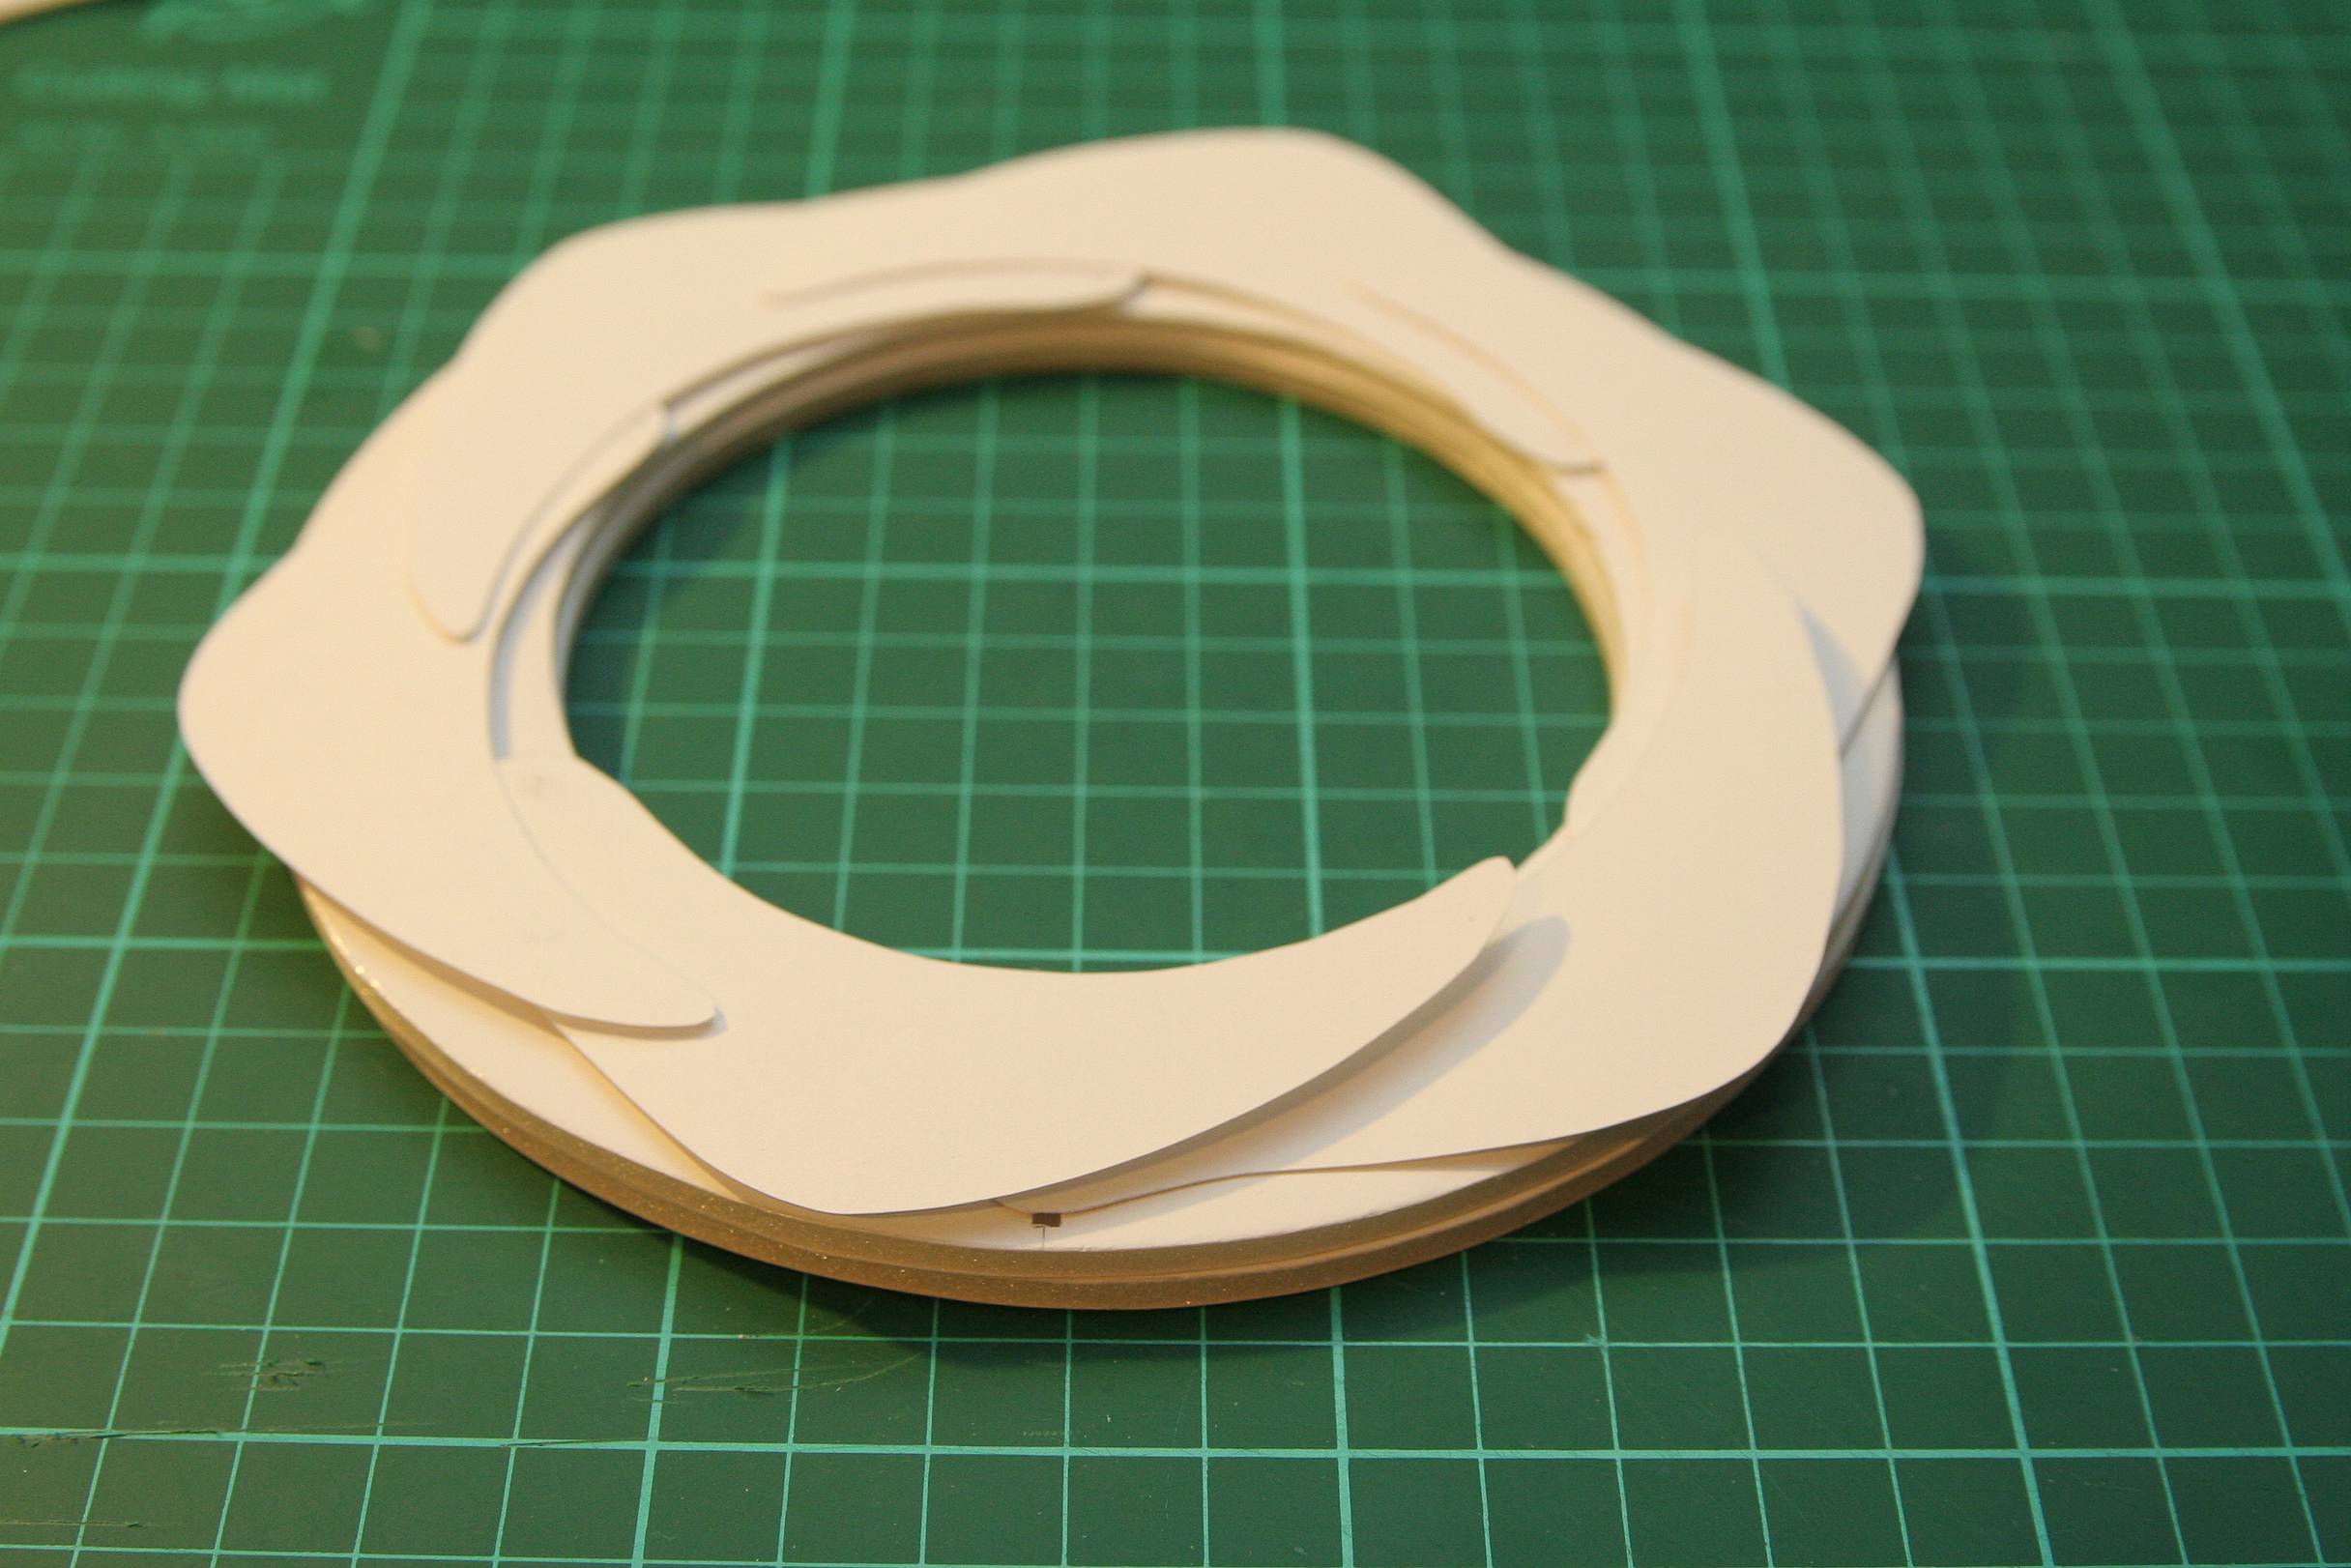
Glue the inner ring (with diamonds) onto the surface of the base ring, aligning both the center openings. Since they are drawn using the same diameter, they should fit without much problem.


As for the outer ring (with rectangles), they won’t be glued to anywhere so I used them as a guide for the aperture blades. On the A4 card, place the outer ring on it and trace the outline (no need to use the whole circle, just half will do) and three rectangles. Roughly position the diamonds below the rectangles as well.

Then the aperture blades are drawn onto it! I don’t have a guide or specific measurement here, I just followed the image and, roughly, my intuition. The curved part should follow the innermost ring, and the blunt part should have enough space to cover both the diamond and the rectangle.

Cut out the shape and we have a template for the aperture blade!

Trace the shape 6 times and don’t forget to mark the location of the 2 circles as well.

There we go – 6 aperture blades!

Time to work on the bamboo skewer. I measured 3mm distances because the foam board is 3mm thick.

Next the small parts are cut out – we need 12 of those, two for each aperture blade. I used a small saw because it’s quite hard to cut them using the blade! Look out for the small bamboo parts, they are so tiny they can go missing easily.

When all 12 parts are obtained, I glued them to the two circles on the aperture blade using superglue. Here I used a tweezer – if you are confident with your workmanship you can work without one.

Do the same for all aperture blades and leave them to dry!

After all the parts have dried and were sturdy enough, here comes the fun part! Fit the outer ring (with the rectangles) on the base and turn to align the rectangles and diamonds along the same line. Assemble the blades one by one, with the sharp end overlapping the blunt end of the other.

And there you go! To operate, hold the base ring with one hand and the outer ring with the other – give it a little spin and watch the aperture open and close!


I also did two other versions – this one with a smaller blade…


…And another one with a simpler mechanism using this tutorial online.


Bear in mind that the blades might not close all the way to the size of f/22, or it might not look perfectly hexagonal. This is a precise mechanism, and there were bound to have flaws in a handmade one. Nevertheless, watching the blades operate with just a slight twist of your hands will give you a mesmerizing experience!
written by shuttersentinel17 on 2011-11-15 #gear #tutorials #diy #analogue #camera #tutorial #aperture #board #tipster #spin #handmade #blade #card #compass #protractor


9 Comments