30 Ways to Hack Your Next Roll of Film
9 121 Share TweetOne of the things that we look forward to when shooting with film is the result. Seeing the photos is always a surprise as we never know what exactly we're going to get. Here are some tips that you could use to hack your next roll of film.
Kit
1. The cost of buying and processing film may be relatively high to those who are used to fitting hundreds of snaps onto an SD card, but the camera itself needn’t cost you the Earth. Analogue specialist Lomography offers a wide selection of low-cost film cameras such as the Diana Mini and wide-angle La Sardina, or you can get yourself a Holga or Blackbird if you’ve got a bit more budget to play with. Most of the top camera brands are digital-only nowadays, but you can pick up second-hand units such as the popular Canon AV-1 on eBay or in specialist camera shops.
2. If you’re after steady, quality shots, then using a tripod is a no-brainer. Most cameras sport a standard tripod mount on the underside making it easier to simply fit your accessory of choice. Pro tripods will cost you a fair few pennies but there are plenty of cheaper options around, not least Joby’s wide range of flexible Gorillapod tripods which can be adjusted to suit their surroundings and won’t break the bank either.
3. An easy way to add a splash of colour to your snaps is to make use of a colour filter on the flash. Some flash models will come with their own set of colour gels or you can pick up a cheap set like these colour lens and flash filters, which as the name suggests, can also be held over the lens for colourful effect. Alternatively you can make your own filters for next to nothing using coloured sweet wrappers or by colouring a piece of sticky tape or clear plastic with a marker pen.
4. Investing in some extra lenses is a good idea, even if you’ve only got a lo-fi toy camera. Even if it’s a fixed focus snapper, attaching a close-up, wide-angle or fish-eye lens using gaffer tape can produce some surprisingly good results (although it might make you look like you’ve lost the plot slightly).
5. Instant cameras make a nice retro-flavoured addition to your camera collection, whether that’s a vintage Polaroid SX-70 or a brand new Fujifilm Instax 210. Alternatively, Lomography sells instant backs for its LC-A+ and Diana+ models, which can be easily fitted and offer you instant snaps (albeit the size of a credit card), without the hassle of getting the film processed.
6. Getting yourself a negative scanner could well save you a lot of pennies as you’ll only need to pay the photo lab for processing. There are plenty of models to choose from, ranging from budget negative scanners for under £50 to multi-function flatbed scanners that can be used for documents and photos as well.
Film
7. You can get all kinds of camera film, although it’s not quite as readily available as it once was. There are still limited supplies available in most chemists and camera shops, but specialist shops, like the Lomography stores, are your best bet. It’s also worth having a scout around on eBay for expired film. It may be out of date, but it’ll still work and you might even get some fancy effects that you weren’t expecting.
8. When choosing which film to use, it’s important to check the ISO, which refers to the speed of the film. The higher the number, the faster the film. If you’re shooting on a gloomy day then it’s best to go for a high ISO (800 and over), while you’ll need a very sunny day to get any decent results from a film with a low rating (100 and under). Film with an ISO rating of 400 is a safe middle-ground for most conditions.
9. If you want some cool results, then try to think beyond the classic colour neg film. Black and white film will give you moody monochrome shots, while slide film offers striking colour saturation for a bold, arty look. It’s also worth checking out redscale film which will give your snaps a nostalgic orangey-red glow.
10. Colour infrared film is notoriously hard to track down these days since Kodak stopped making it a few years back, and it now only occasionally turns up on eBay. Originally designed for aerial photography, colour infrared film offers crazily bright colour combinations, especially when teamed with a suitable colour lens filter.
11. If you’re feeling extra brave, then try re-spooling and re-using your film. This will effectively give you two sets of shots on one film and it’s pure luck as to whether this will give you awesome results or just a big mess, which is part of the fun. All you need to do is rewind your film as you normally would, but leave a small section of film poking out of the canister. You can then simply re-load the film into your snapper (or a different camera if you want to mix up the results).
12. If you’ve got yourself a vintage Polaroid snapper then the only place you’re likely to find the genuine Polaroid instant film is on eBay. The good news is that the clever folk at The Impossible Project, formed by former Polaroid employees, offer a new generation of instant film, which can easily be picked up online or in specialist camera shops. You can also still buy Fujifilm instant film for use in its Instax Mini 7 (also re-badged as the Polaroid 300) as well as Lomography’s instant cameras.
Settings and Effects
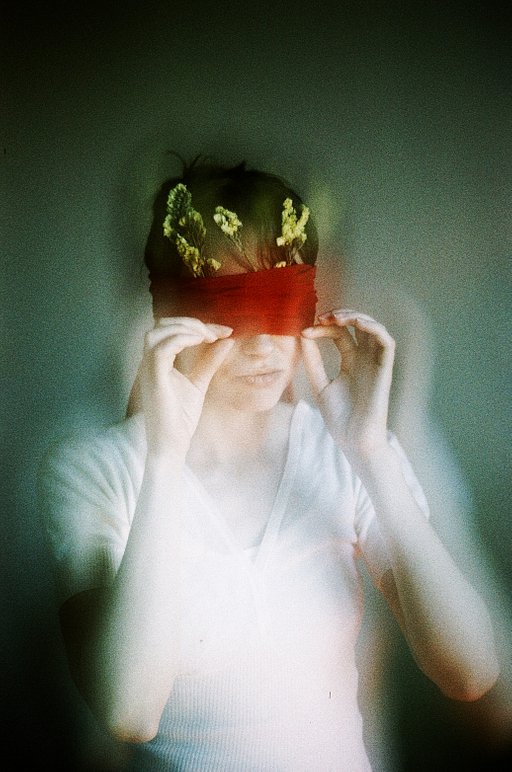
13. A great way of getting creative with your photos is to take more than one photo on the same frame. This is known as a multiple exposure (or MX) and works best with two shots (a double exposure). Technically, you can take as many shots as you like on one frame, but the film will start to get overexposed once you hit three or so. A variation on this theme is to vary how much you wind on the film between each shot – winding halfway to the next frame will give you some cool overlapping images.
14. There are plenty of inventive ways to add a soft focus to your shots, with the easiest being to cover the lens with a clear plastic bag. Another method is to remove the camera lens, breathe on the back to mist it up and then replace for some super-soft shots. We wouldn’t recommend the classic ‘vaseline on the lens’ method unless you want to end up with some very greasy camera equipment, though. You can even add clear nail varnish to the lens for a uniformly soft effect, but you won’t be able to get it off, so only use on a cheap lens or a throwaway camera.
15. If you’re planning to shoot at night then you’ll need to look into the art of long exposures. This will give you all sorts of cool effects including neon shades and ghosting effects. The trick is to take in as much light as possible, accomplished by holding down the shutter release.
16. Using the largest aperture setting available is a good way to guarantee a ‘bokeh’ effect on your photos. The word comes from the Japanese for “blur” and describes a photo containing blurry areas, usually coming from lights. This makes the primary subject of the shot stand out thanks to the blurred background.
DIY
17. Investing in extra lenses for your camera can get a little pricey so a DIY approach might save you some pennies. You can create the effect of a fisheye lens by holding a glass over the lens while shooting.
18. We’ve already covered colour filters but you can knock up your own original filters out of pretty much anything you like. Try draping translucent fabric over the lens, or shooting through coloured or patterned glass and if you’re feeling extra crafty, you can use a piece of card with your choice of cut-out shapes.
19. In the same way as you make your own filters, you can also knock up your masks to go inside your camera. All you need to do is print or draw your design onto transparency and cut to the correct frame size and a fix it inside your snapper using sticky tape. Take note – you’ll probably need to put it in upside down so that the image appears the correct way up in your photos.
20. Whether it’s intentional or accidental, light leak can add some very cool effects to your photos. The casing of some cameras will give you light leak all the time, and may even need to be taped up to avoid it, but if you want to shed a little extra light on your snaps then you can also try drilling some holes into the chassis. Just take care, otherwise it could all end it tears.
21. If you’ve got a multi-lens camera that takes several snaps in rapid succession, then you could try using different filters for each frame. Home-made coloured filters (such as cellophane sweet wrappers) work well or you can even use black card to black out certain frames.
Processing
22. Choose your photo lab wisely. Unless you’ve got your own darkroom at home, you’ll need to find a decent spot to get your snaps developed. You can always go to Boots or a high street camera shop, but they won’t always be used to developing anything other than standard shots from 35mm colour negative. Be sure to check that they’re able to process unusual photo formats or film if need be, and always make sure that you request “no colour correction.” If you want to be able to scan your negs, then ask them not to cut them. .
23. Choose your process. Normal colour negative film is processed in C-41 chemicals while slide film is developed in E-6 chemicals. Switching the two around is known as cross processing (or x-pro) and can give you all sorts of quirky effects that you wouldn’t get with conventional processing. Chances are, most high street camera shops won’t offer this service, so you may need to hunt down a lab.
24. If you want to push the boundaries a little, try washing your film. If you stick it in the washing machine or dishwasher before you get it processed, the detergent will give you some cool (and unpredictable) effects. You’re not limited to soap though — you can also dunk your film in fizzy drinks, vinegar or coffee for some surprise results. Word to the wise though — make sure you dry out your film before getting it processed or you might make the photo lab people very cross indeed.
25. Before getting your film processed you might want to do a little simple tinkering by pulling it out of the canister (in a darkened room, natch) and bending it to leave line marks or even scratching some words or designs into it. Once you’ve finished playing, simply wind the film back in and trot on down to the lab for some surprise additions to your snaps.
Post-Process Effects
26. As well as treating your film before it’s developed, there are plenty of things you can do after processing as well. Dunking negatives in bleach is a popular trick and one that will burn strange patterns into your snaps. A short dip in diluted bleach will do – then simply rinse, dry and scan.
27. We’ve already suggested scratching words and designs into your film before developing, but post-processing creativity is also a good plan. Simply draw whatever takes your fancy on your negatives before scanning. You can add captions, frames, speech bubbles or random doodles.
28. As well as getting crafty with your negs, you can also dabble with any spare prints that you’ve got by using a marker pen or scratching designs into your photos. Perfect for making personalised greeting cards and showing off your inner artist.
Sharing
29. Once you’ve got your kit; tinkered with your film and finally got the shots you want, it’s time to share them. There are plenty of places to publish your pics from the usual suspects such as Facebook and Flickr groups to photo-sharing communities run by the likes of Lomography, Polaroid and The Impossible Project.
30. Not content with uploading your snaps to an online sharing community? Why not join in with a collaborative effort such as the Disposable Memory Project, or if you think you’ve got a better idea, then why not start your own? The community aspects of film photography are half the fun.
This article was written by Libby Plummer for Gizmodo UK, a technology weblog that tackles various consumer electronics. This week, Gizmodo UK is featuring posts on film. Read various film-related articles on their website.
written by jeanmendoza on 2011-12-13 #gear #tutorials #film #tips #photography #tipster #hack #gizmodo #top-tipster-techniques









9 Comments